Chicken and Vinegar Lab

My third graders are currently the middle of their skeletal system unit.  I have tried to make this unit as hands on and engaging as possible.   To teach my kiddos about the nutrients found in bones and the importance of keeping your bones healthy, I had them conduct an inquiry based lab where they soaked chicken bones in vinegar.  THEY LOVED IT!!!

Why vinegar?  Vinegar is a mild acid which will dissolve the calcium and other nutrients in the bone.  As a result, there is nothing left to keep the bone hard so eventually the bone will bend in half like rubber.  This simulates what happens to bones over time when people do not consume enough calcium.  The body will take calcium from the bones to help support the heart, nerves, and muscles.

2015-12-15 11.08.34

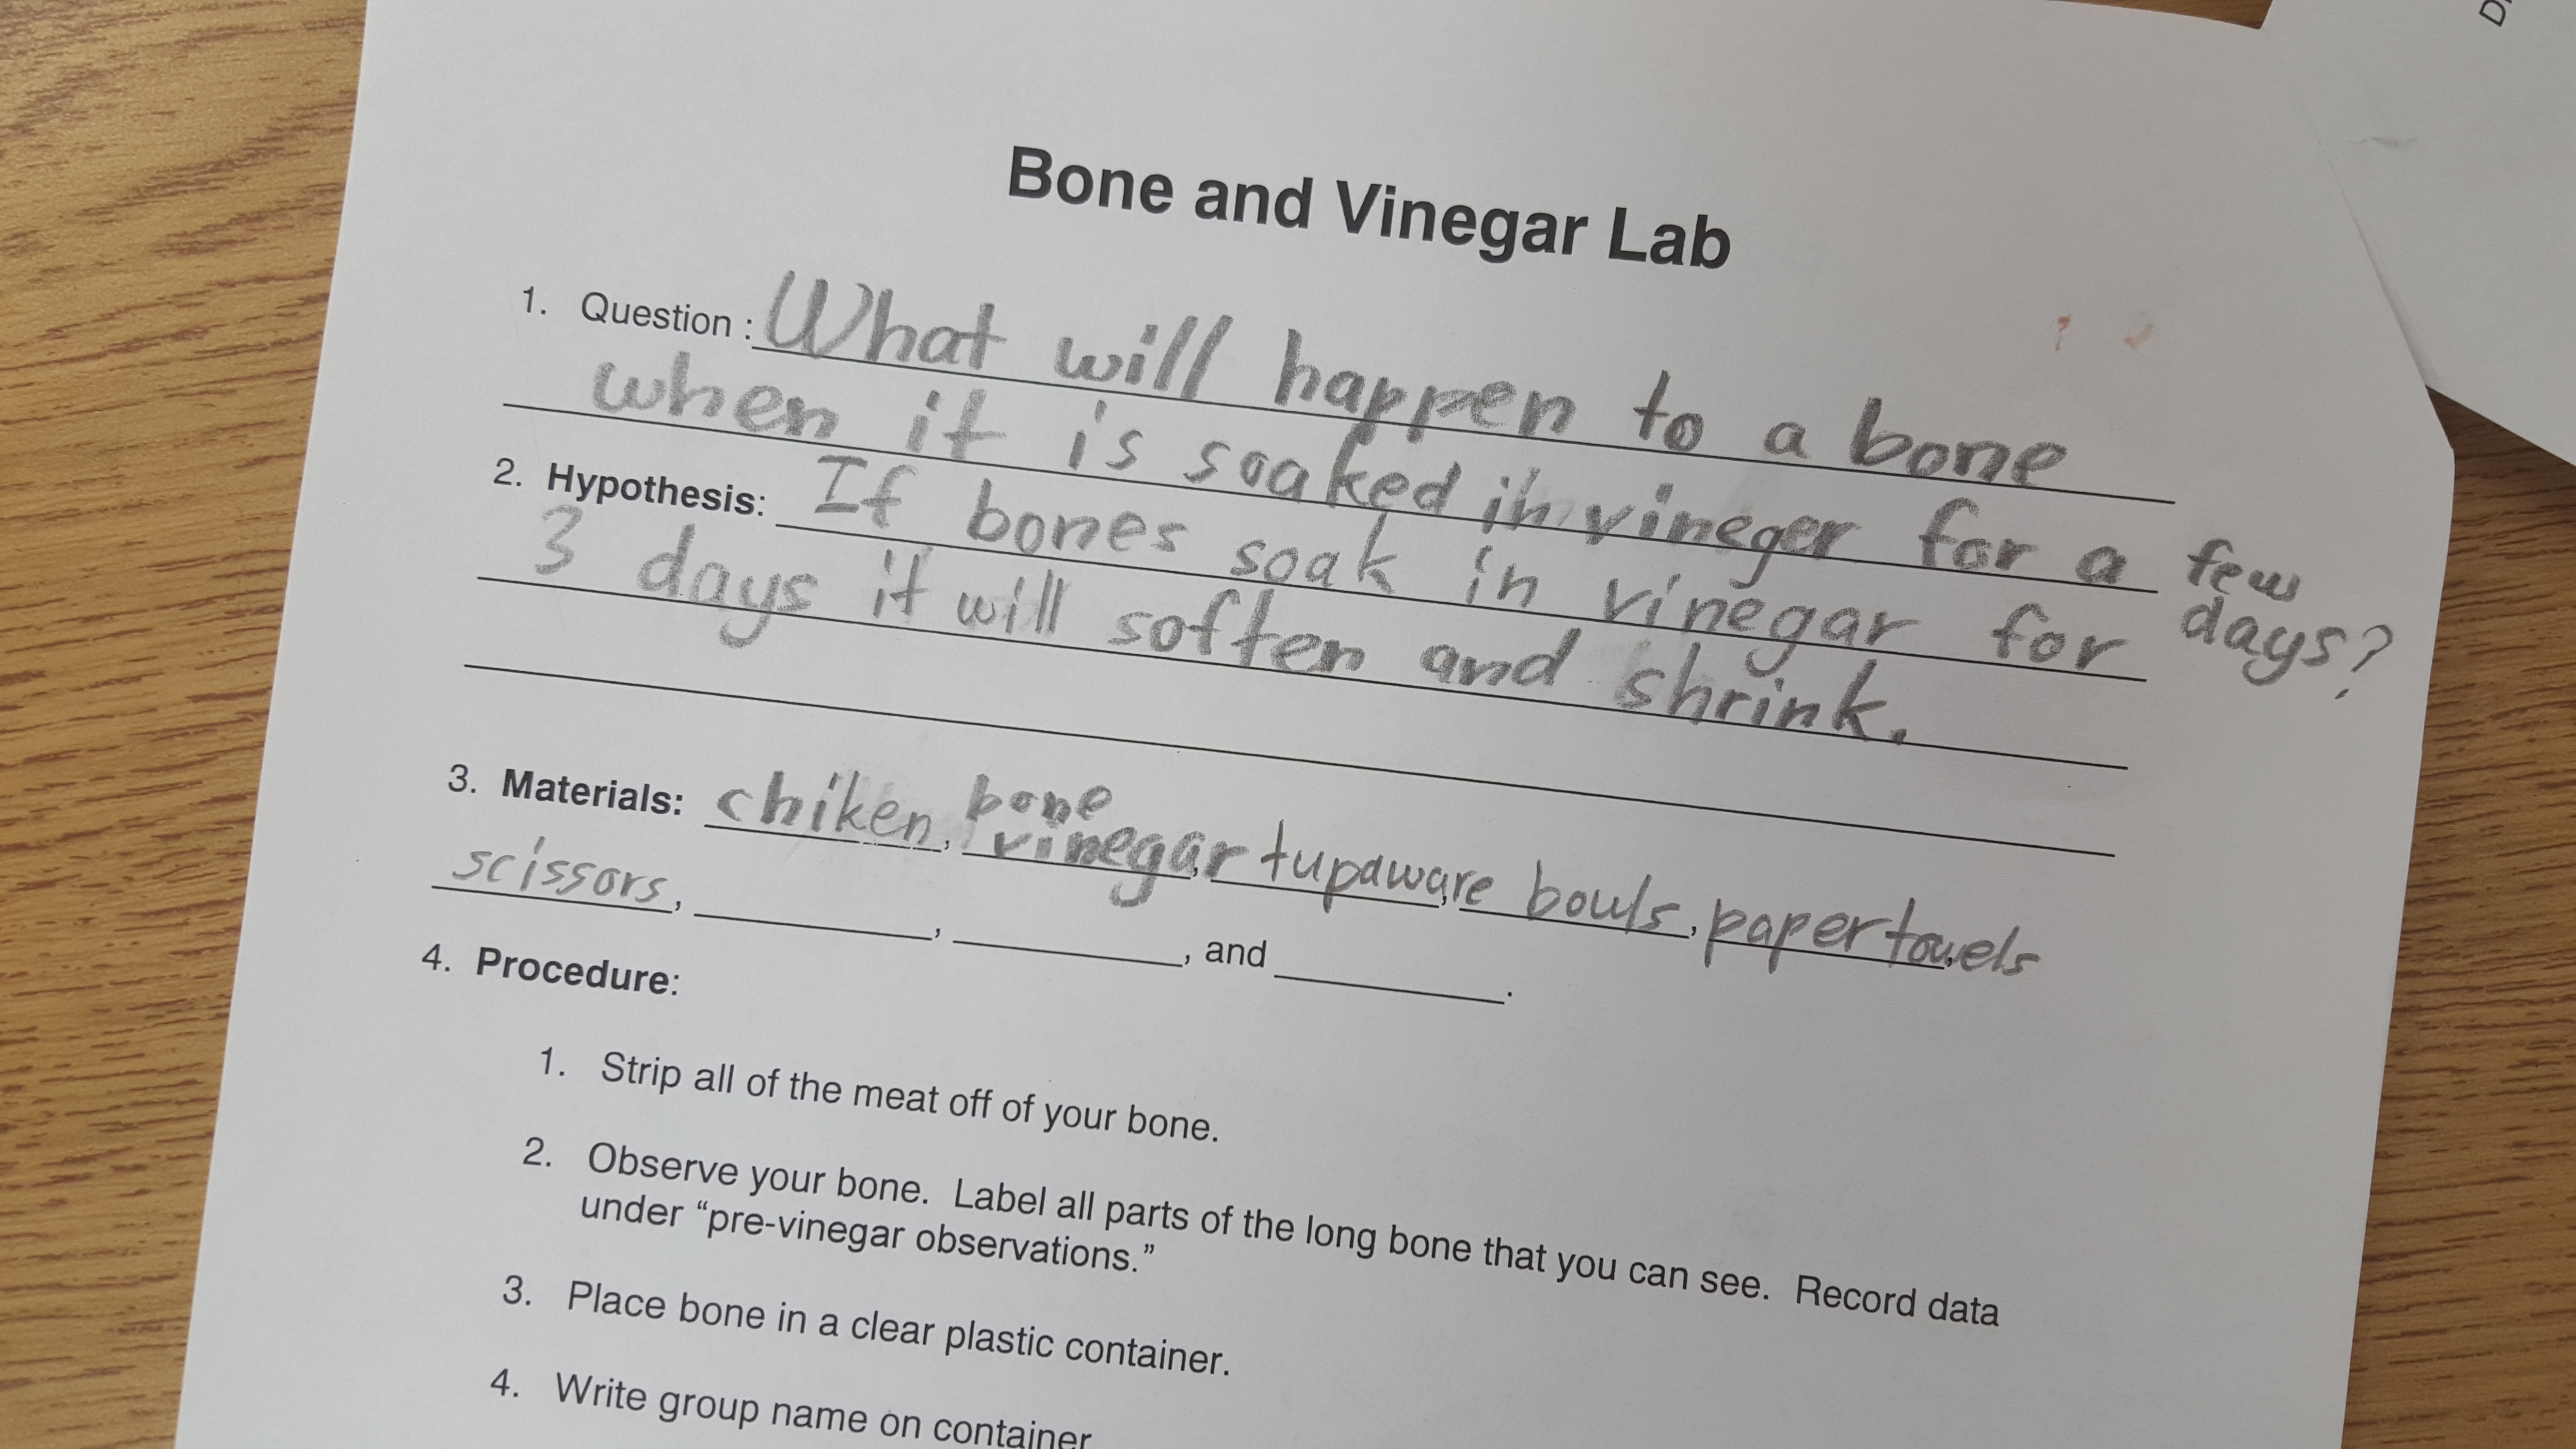
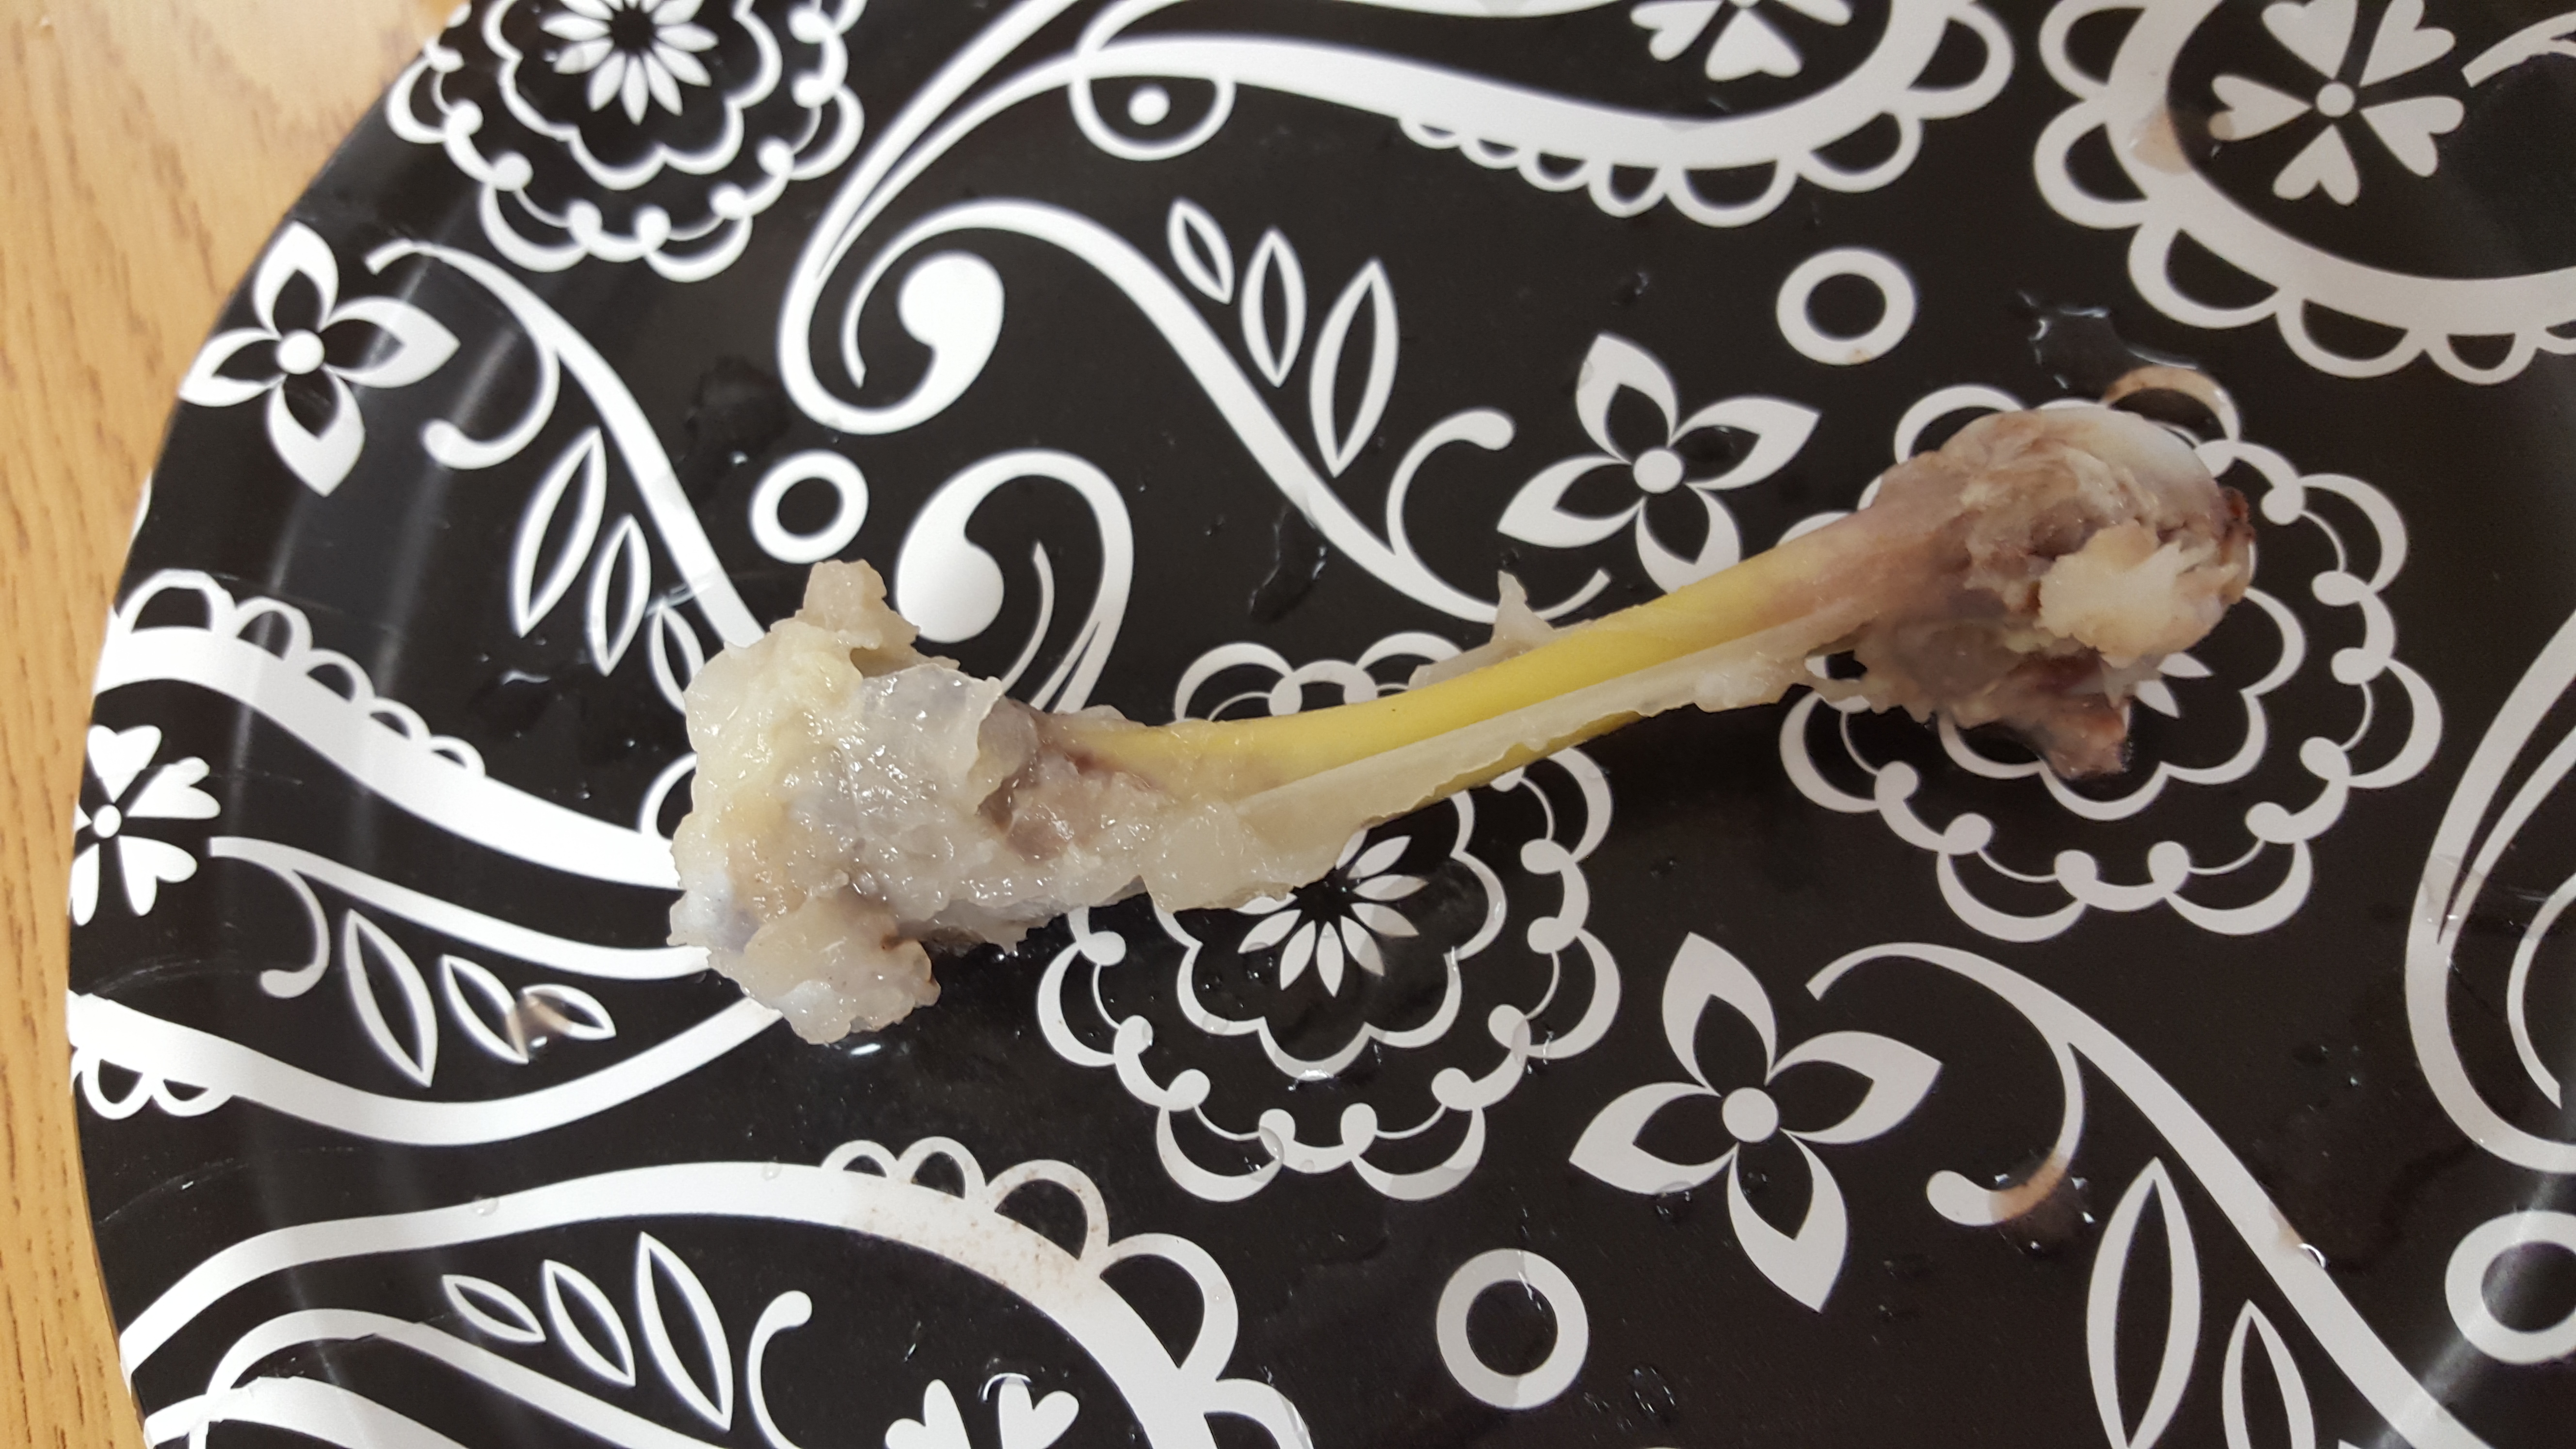
To begin the lab, students gained background knowledge by breaking a bone in half and identifying the different parts of a bone (bone marrow, compact bone, periosteum,  cancellous bone).    They were so inquisitive as they looked at the bone marrow and squished it between their fingers.  I don’t think they ever realized that bone marrow was soft and paste like.  They then researched what nutrients are found in bones and ways to keep your bones healthy (weight training, calcium and vitamin D rich diet, and not eating a lot of acidic foods).    Most of them knew that calcium was important but they never realized that weight training helped their bones too!

2015-12-15 11.08.09

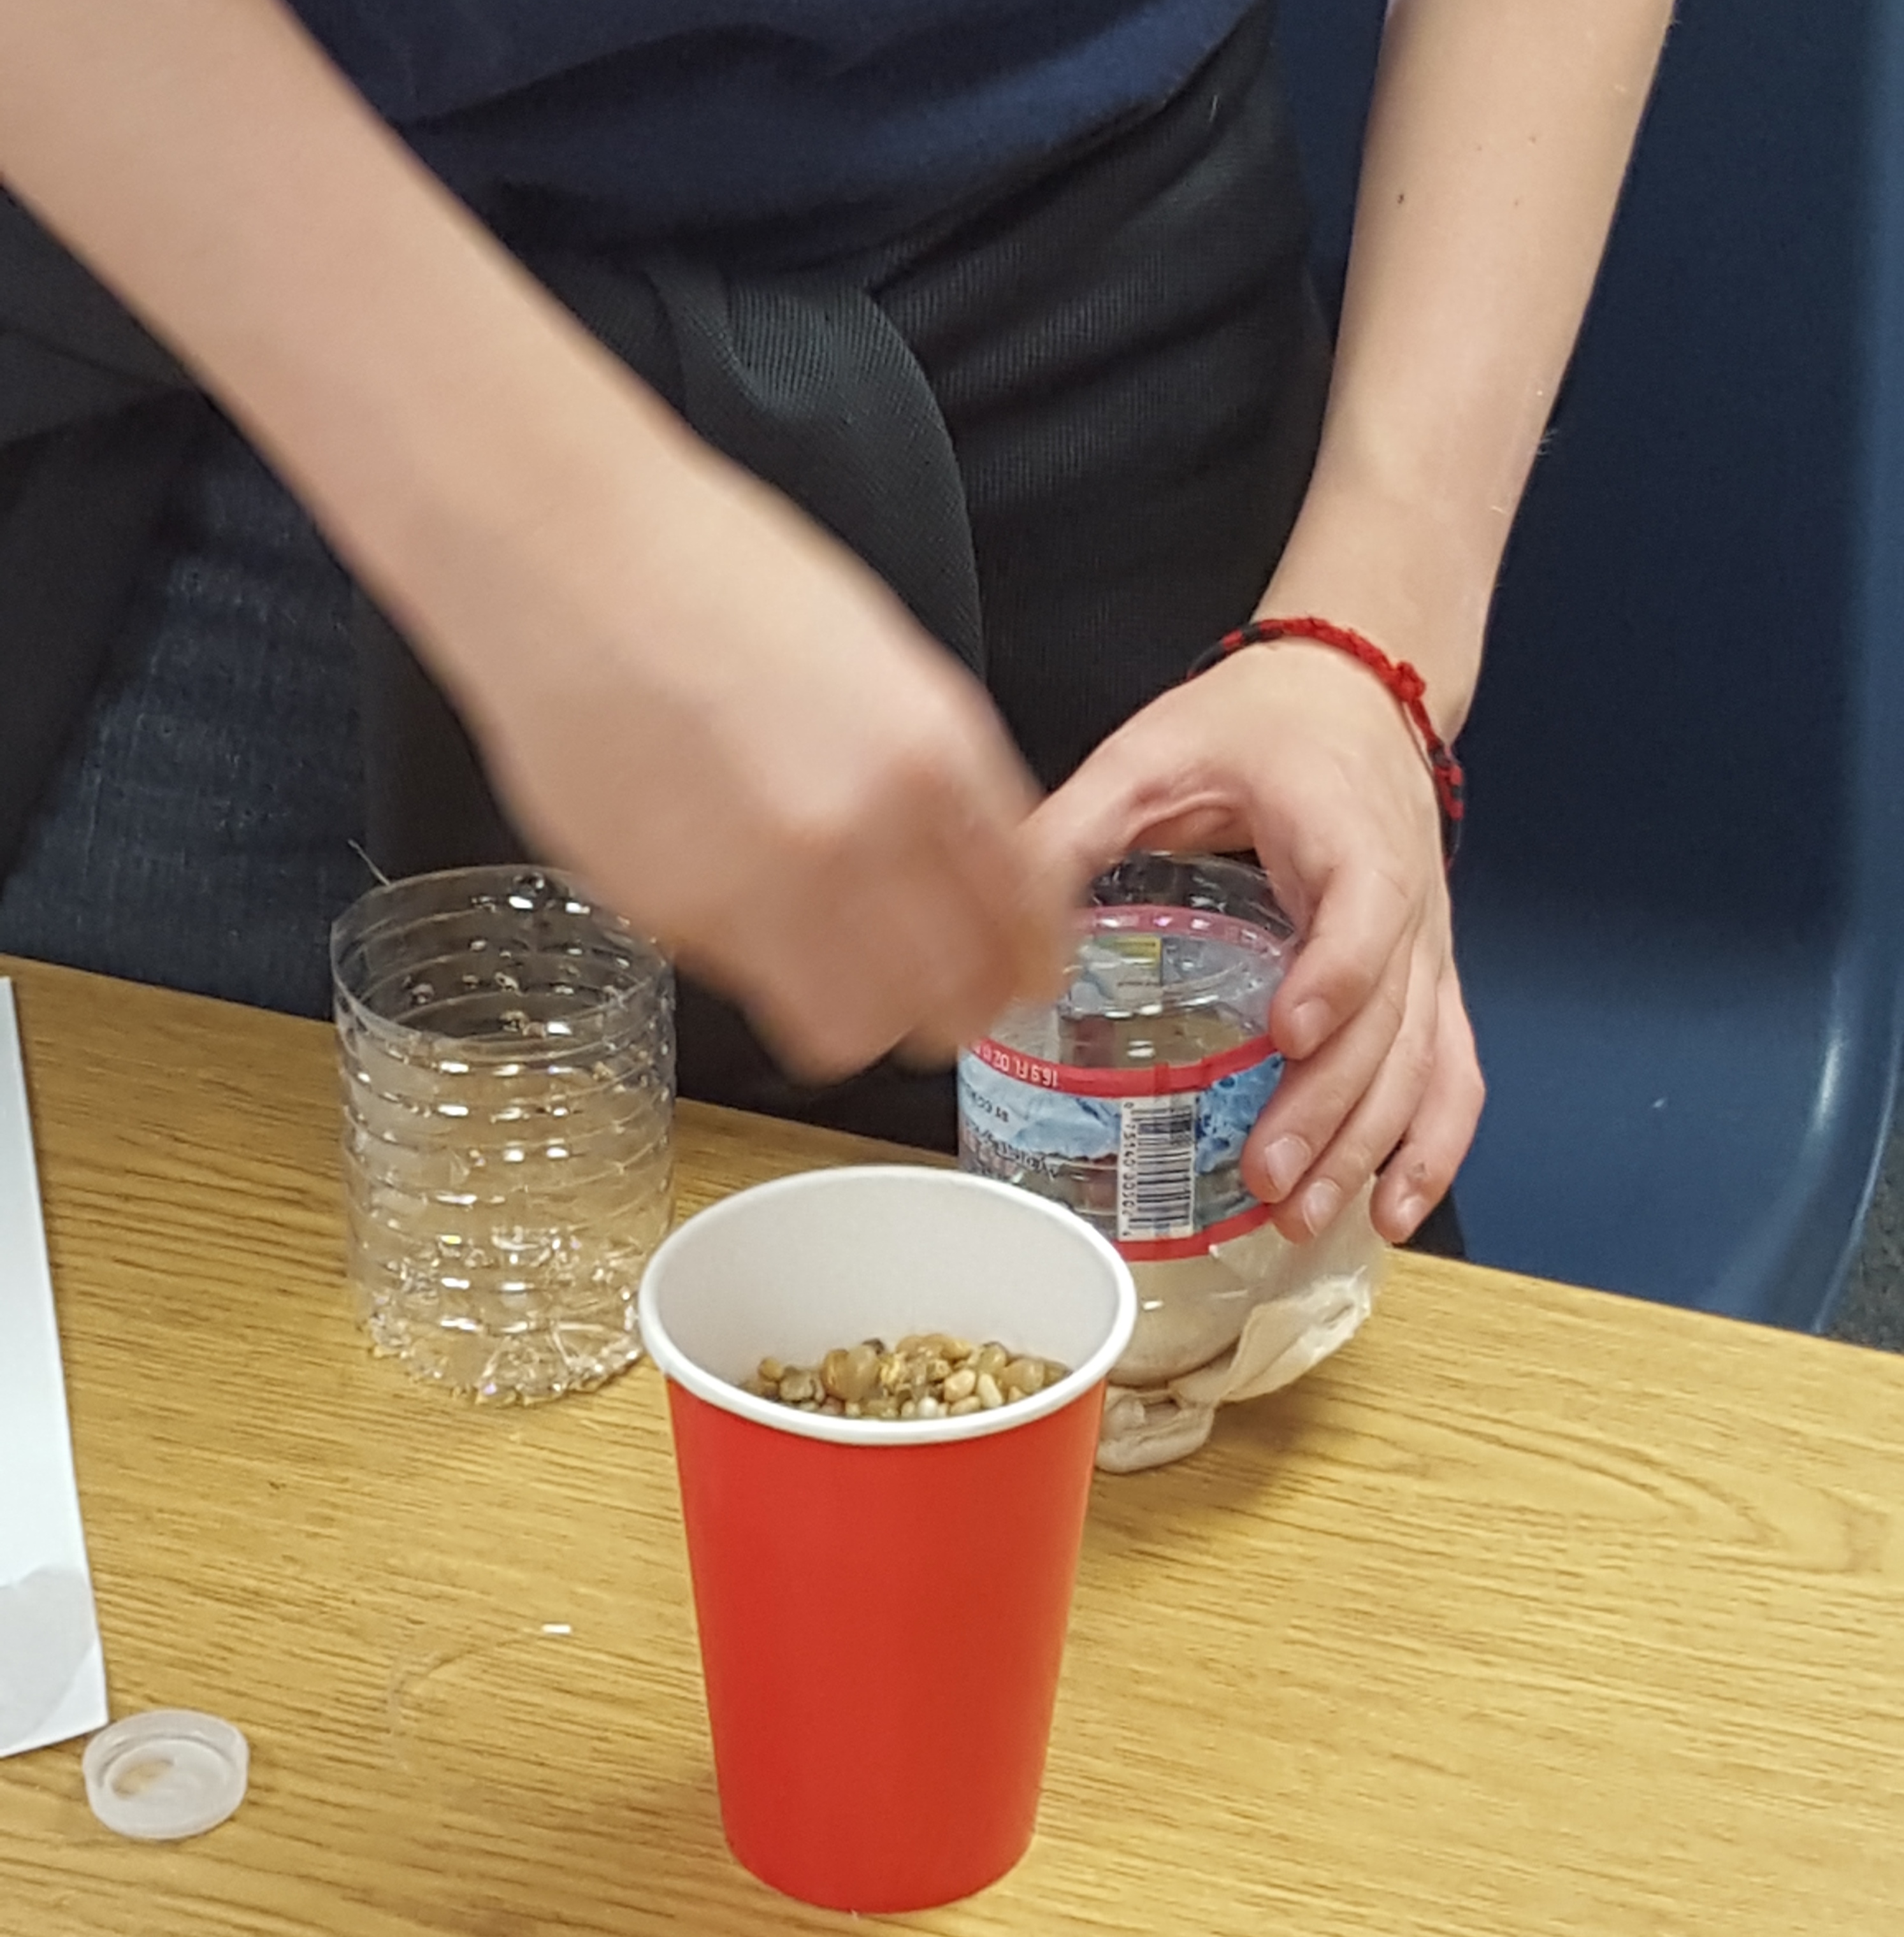
Next, students identified what question they would like to ask by doing the lab and came up with their hypothesis.


2015-12-15 11.08.21


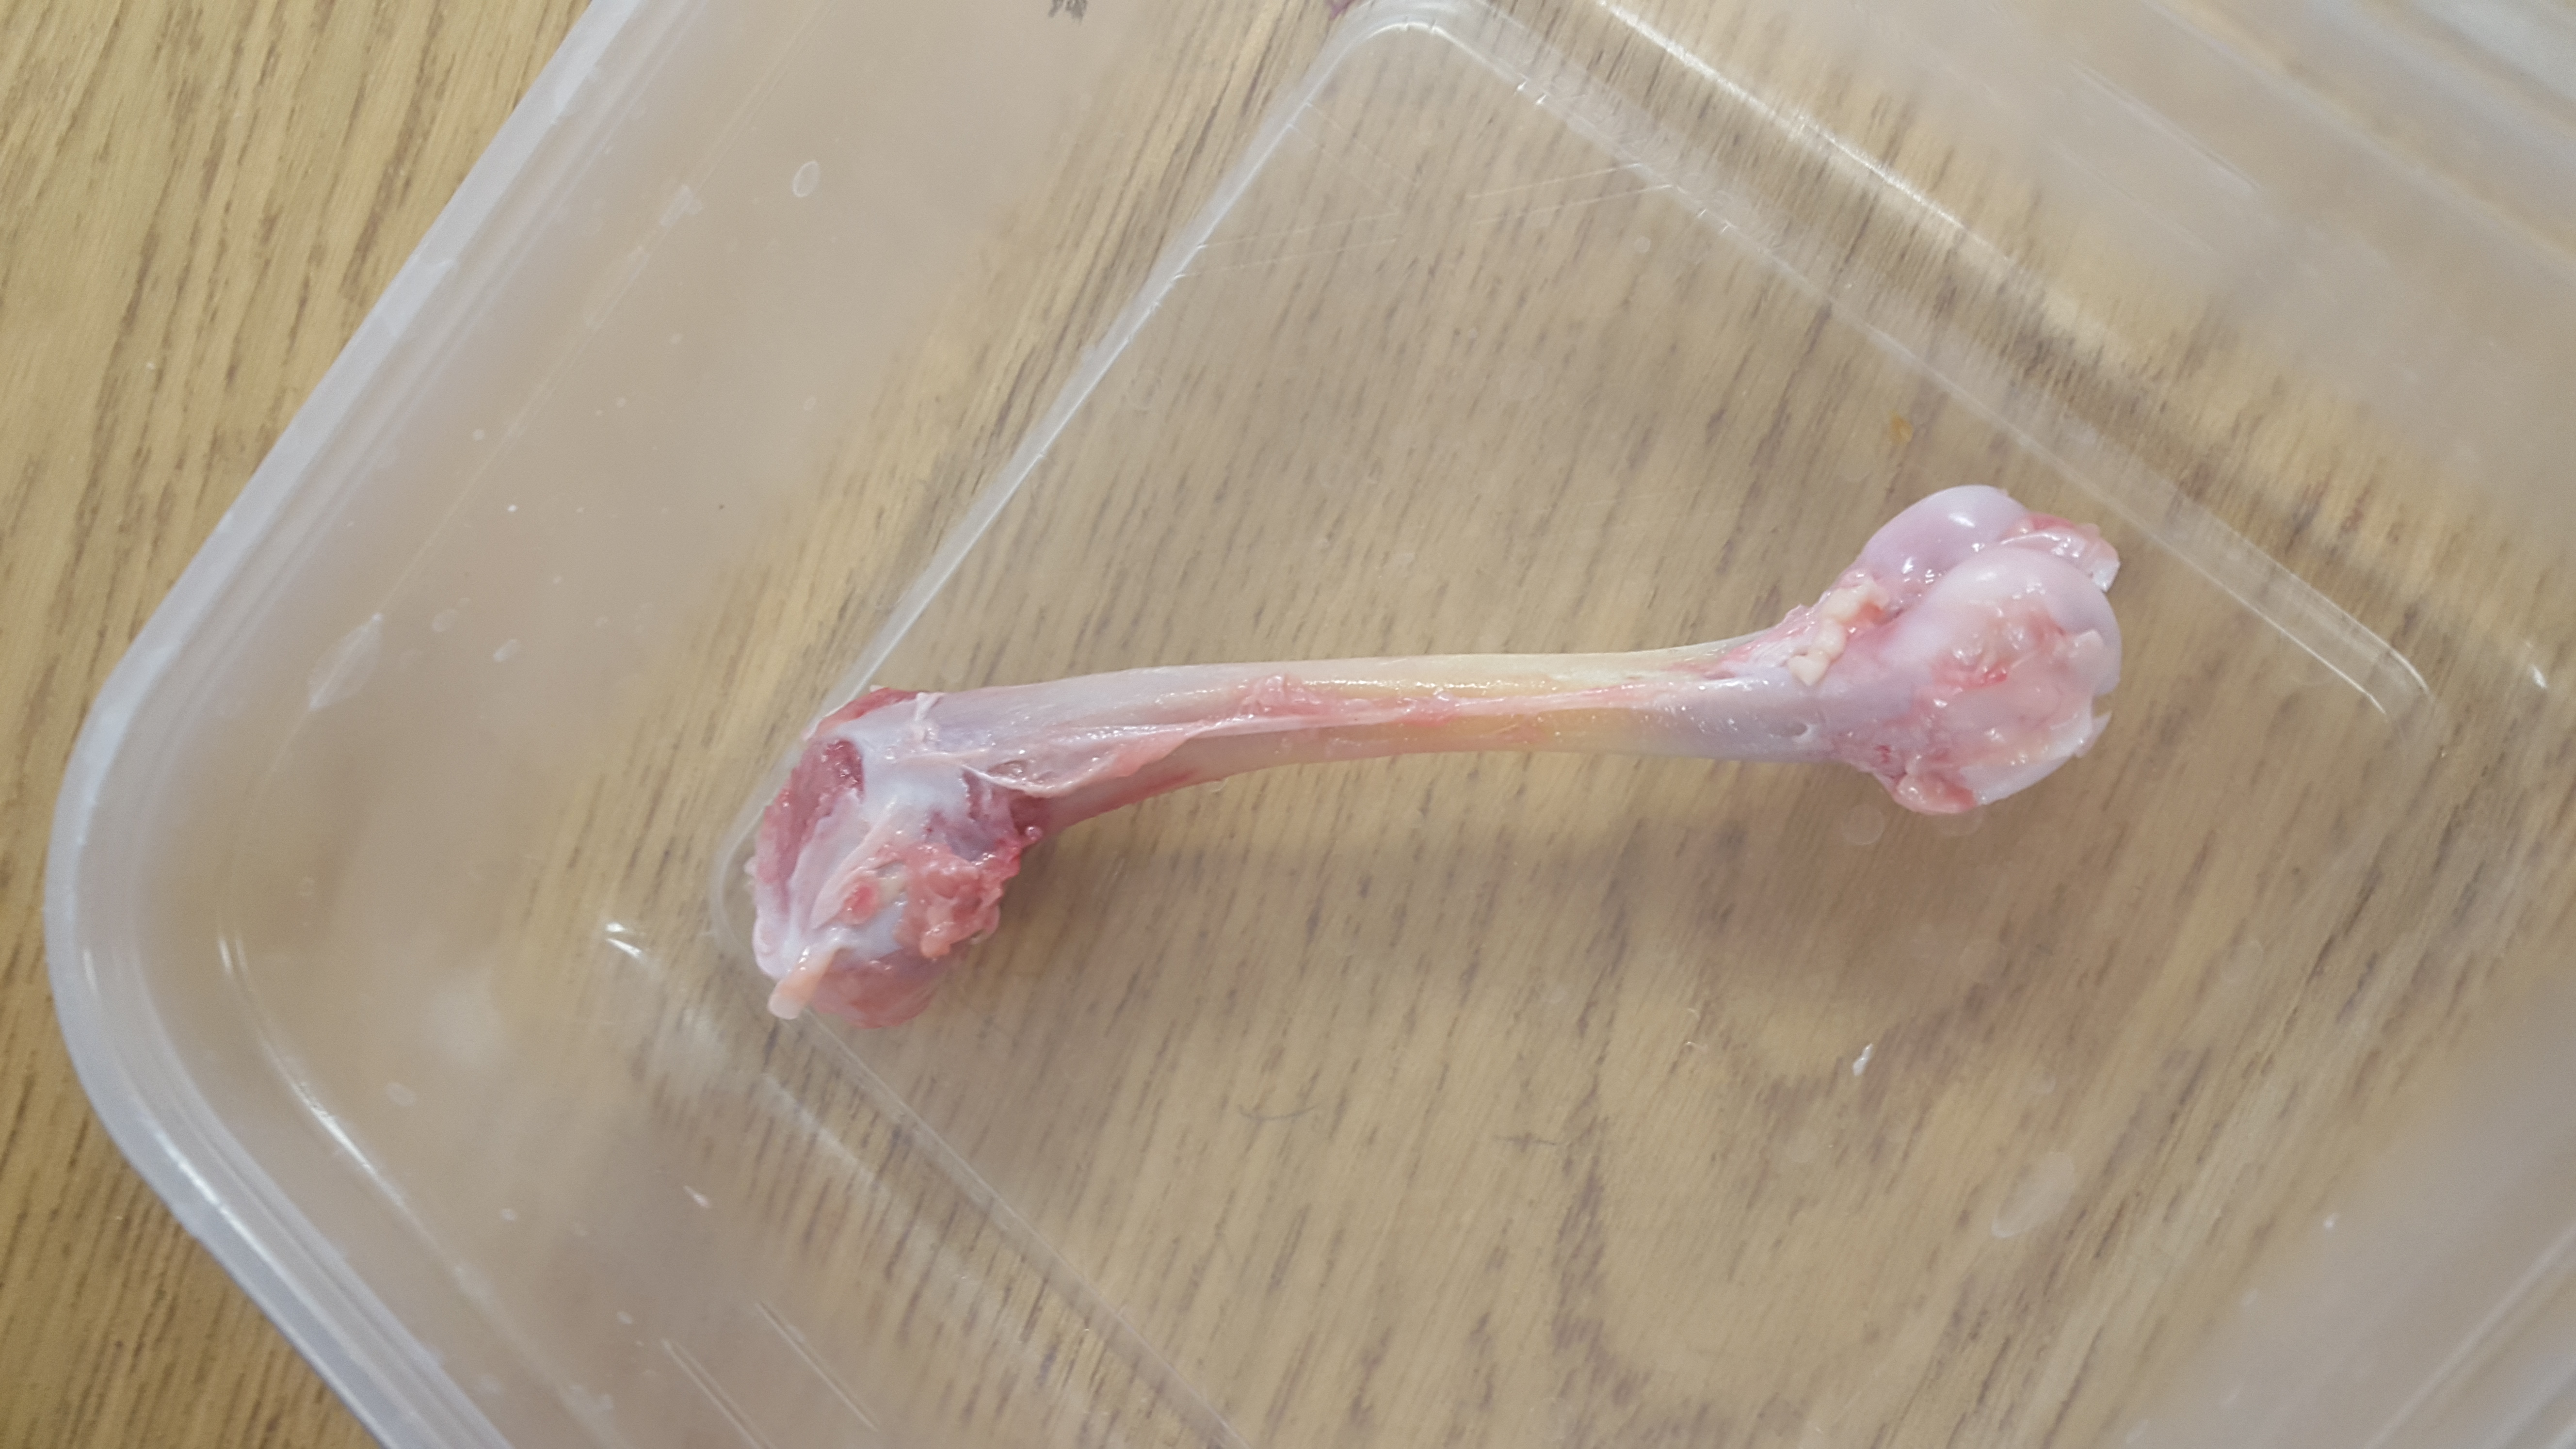
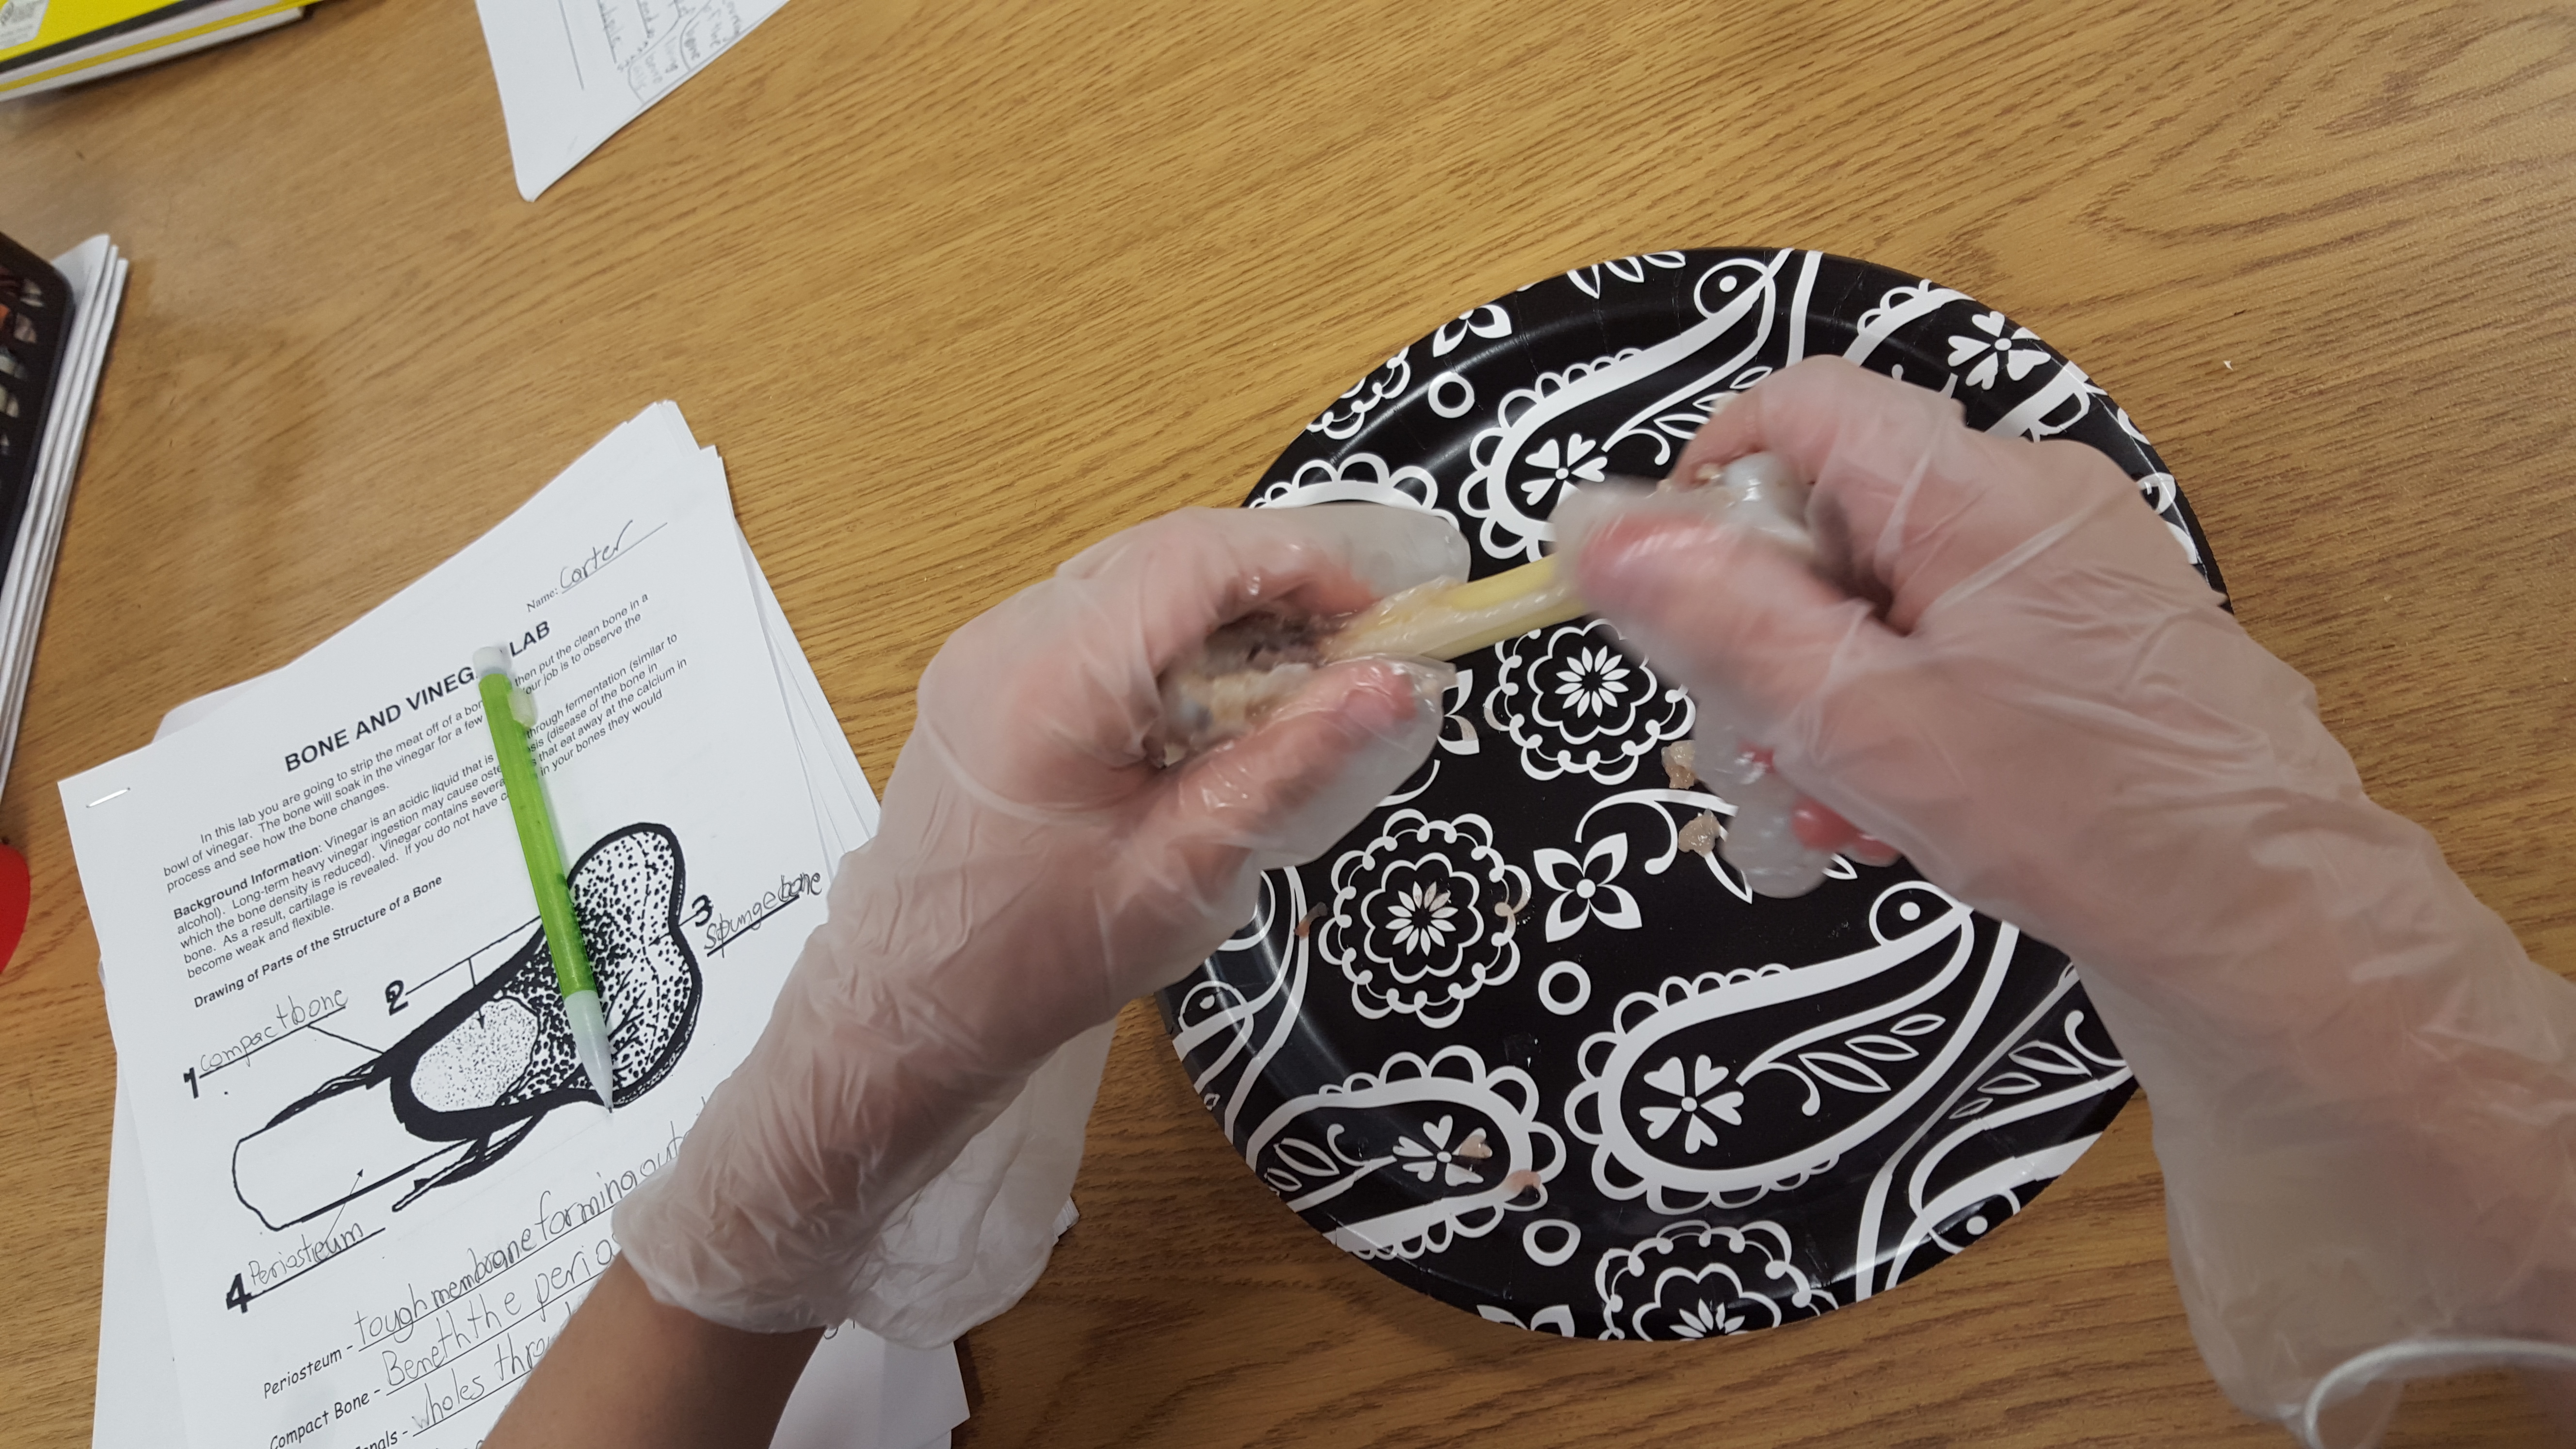
Now it was time to strip the meat off the bones.  This was probably the best part of the whole lab.  I have never seen a group of kids so excited about touching chicken in my entire life! Students loved having to wear safety goggles and gloves, but found that cutting the meat using scissors was a lot harder than they had initially thought.


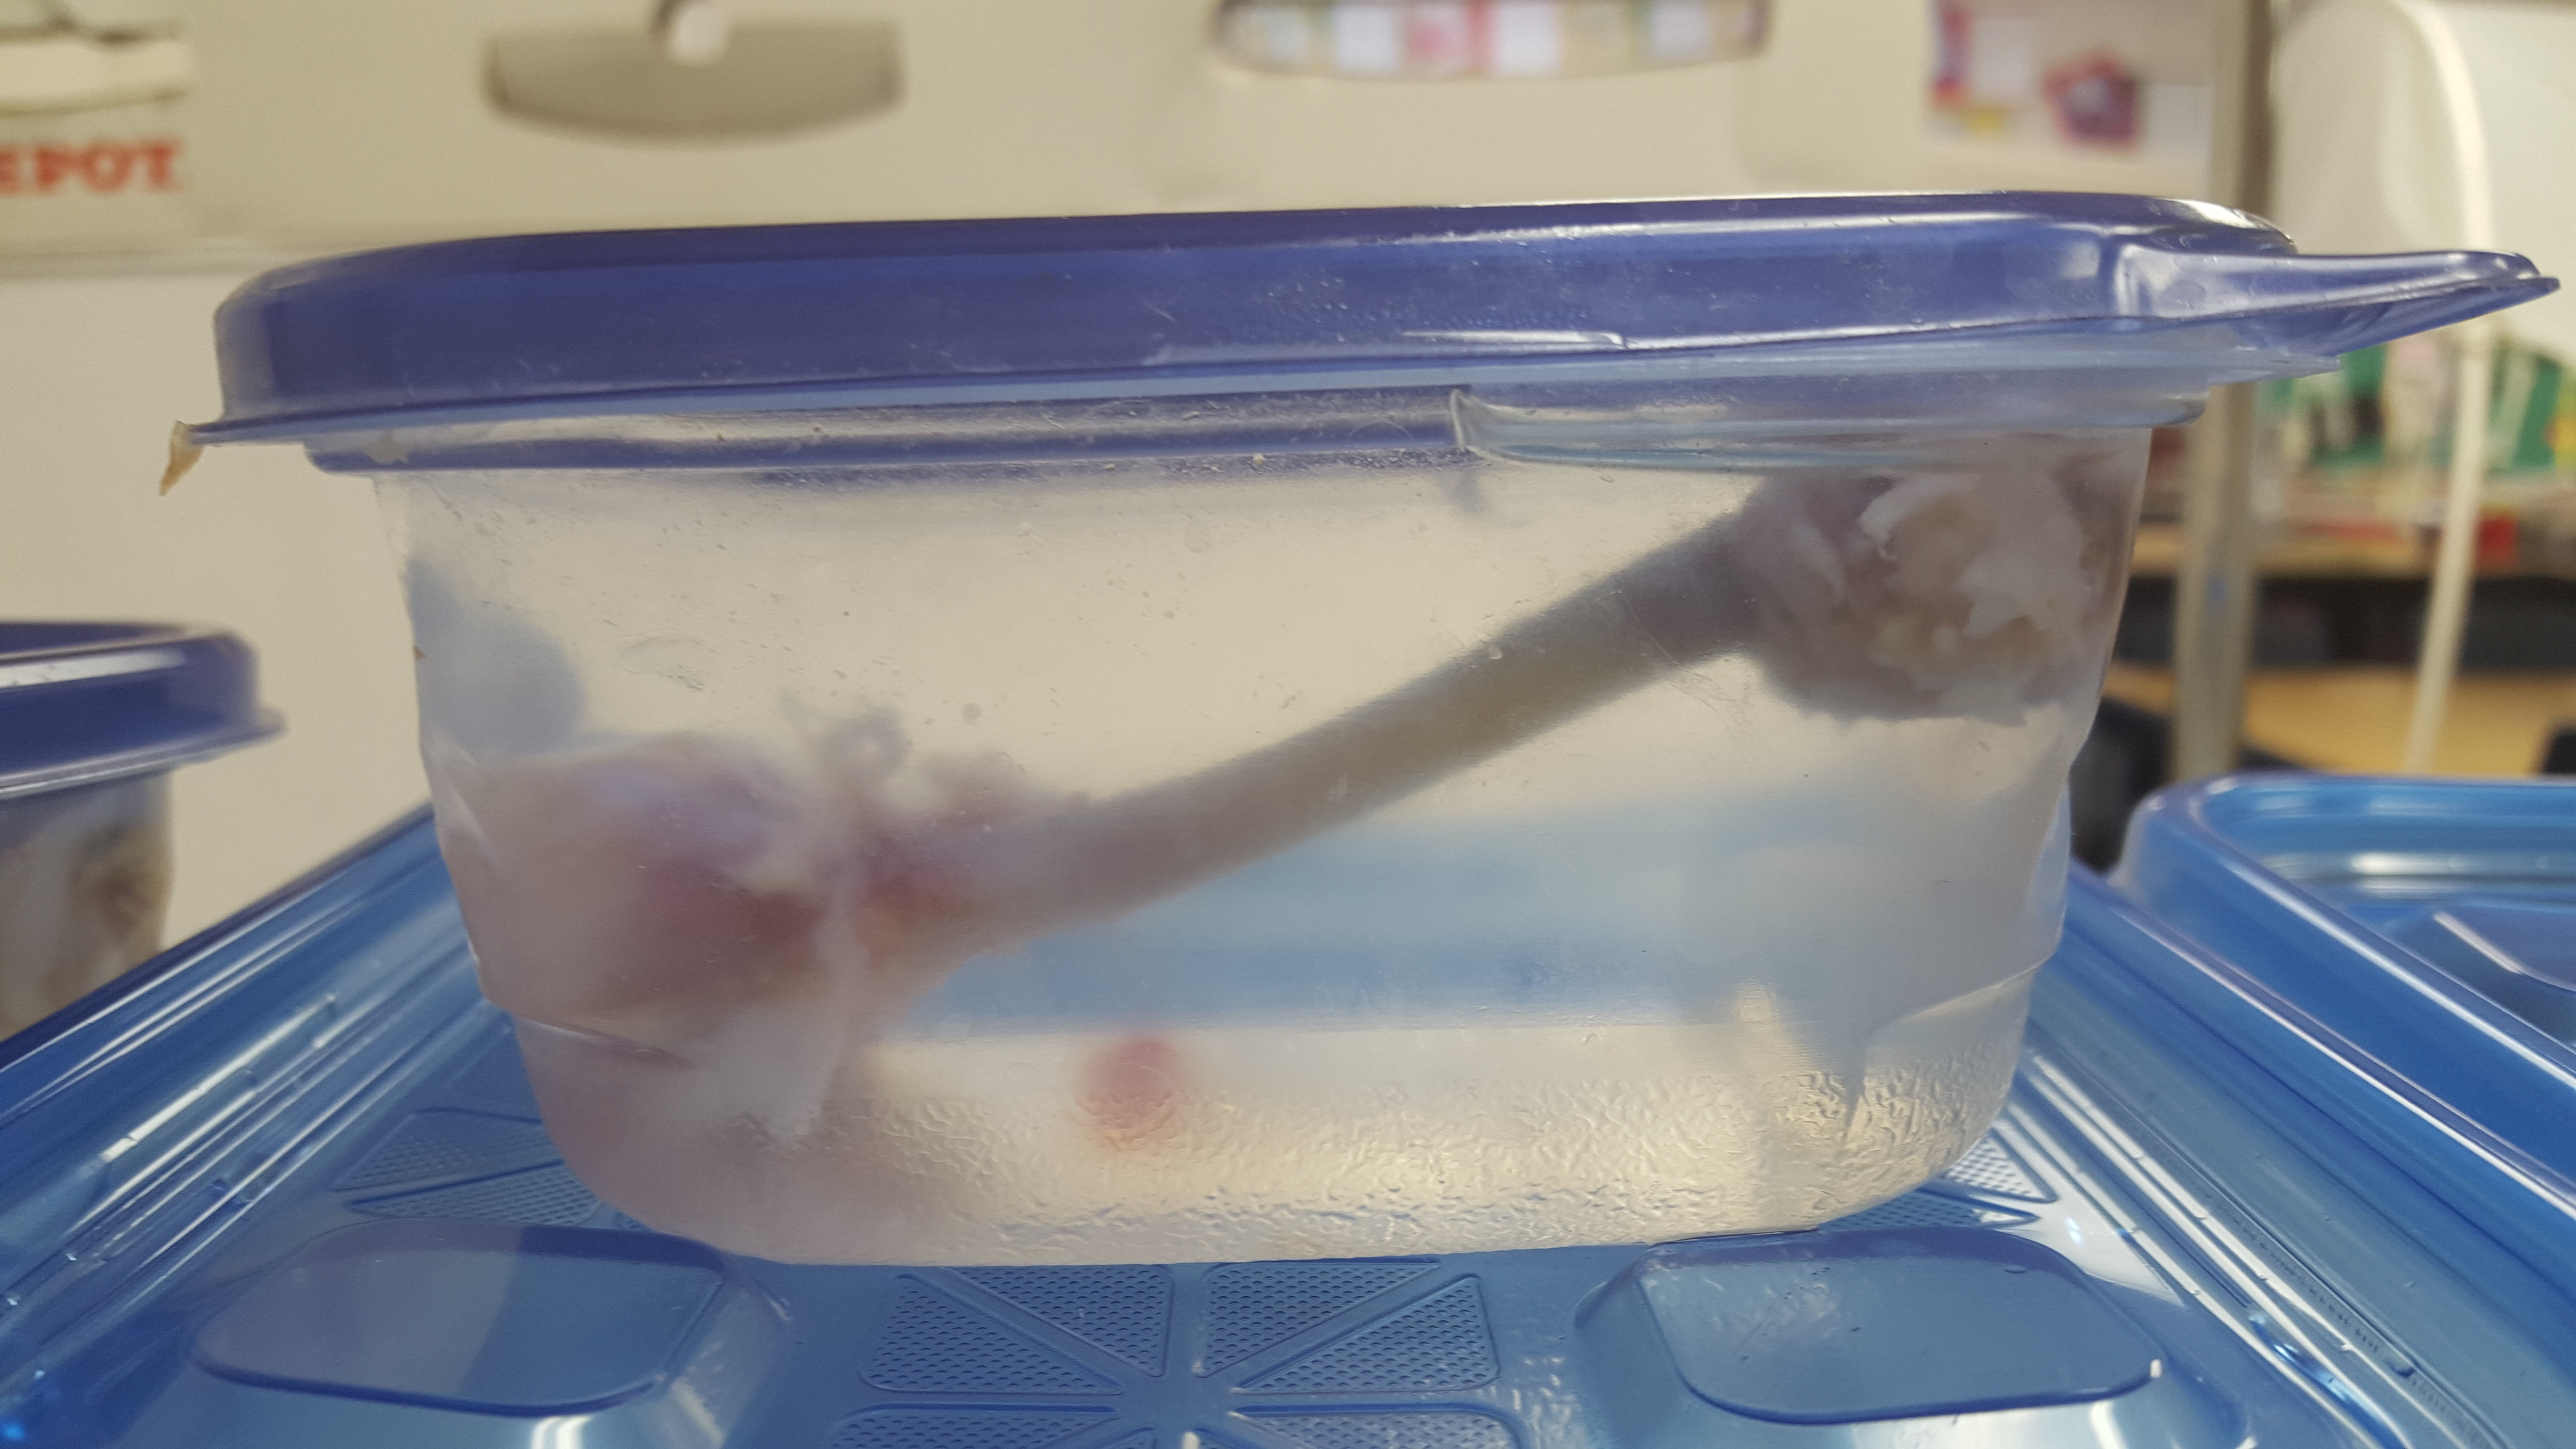
At that point, students wrote their observations of the chicken bone.  They looked at the color, size, smell, texture, and strength.  When they were done, each group measured 1 cup of vinegar and poured it into a plastic container.  They then placed their chicken bone into the container, closed the lid, and recorded the color of the liquid in their lab report.  It was definitely a busy lesson!

2015-12-15 09.47.30


2015-12-15 11.08.43

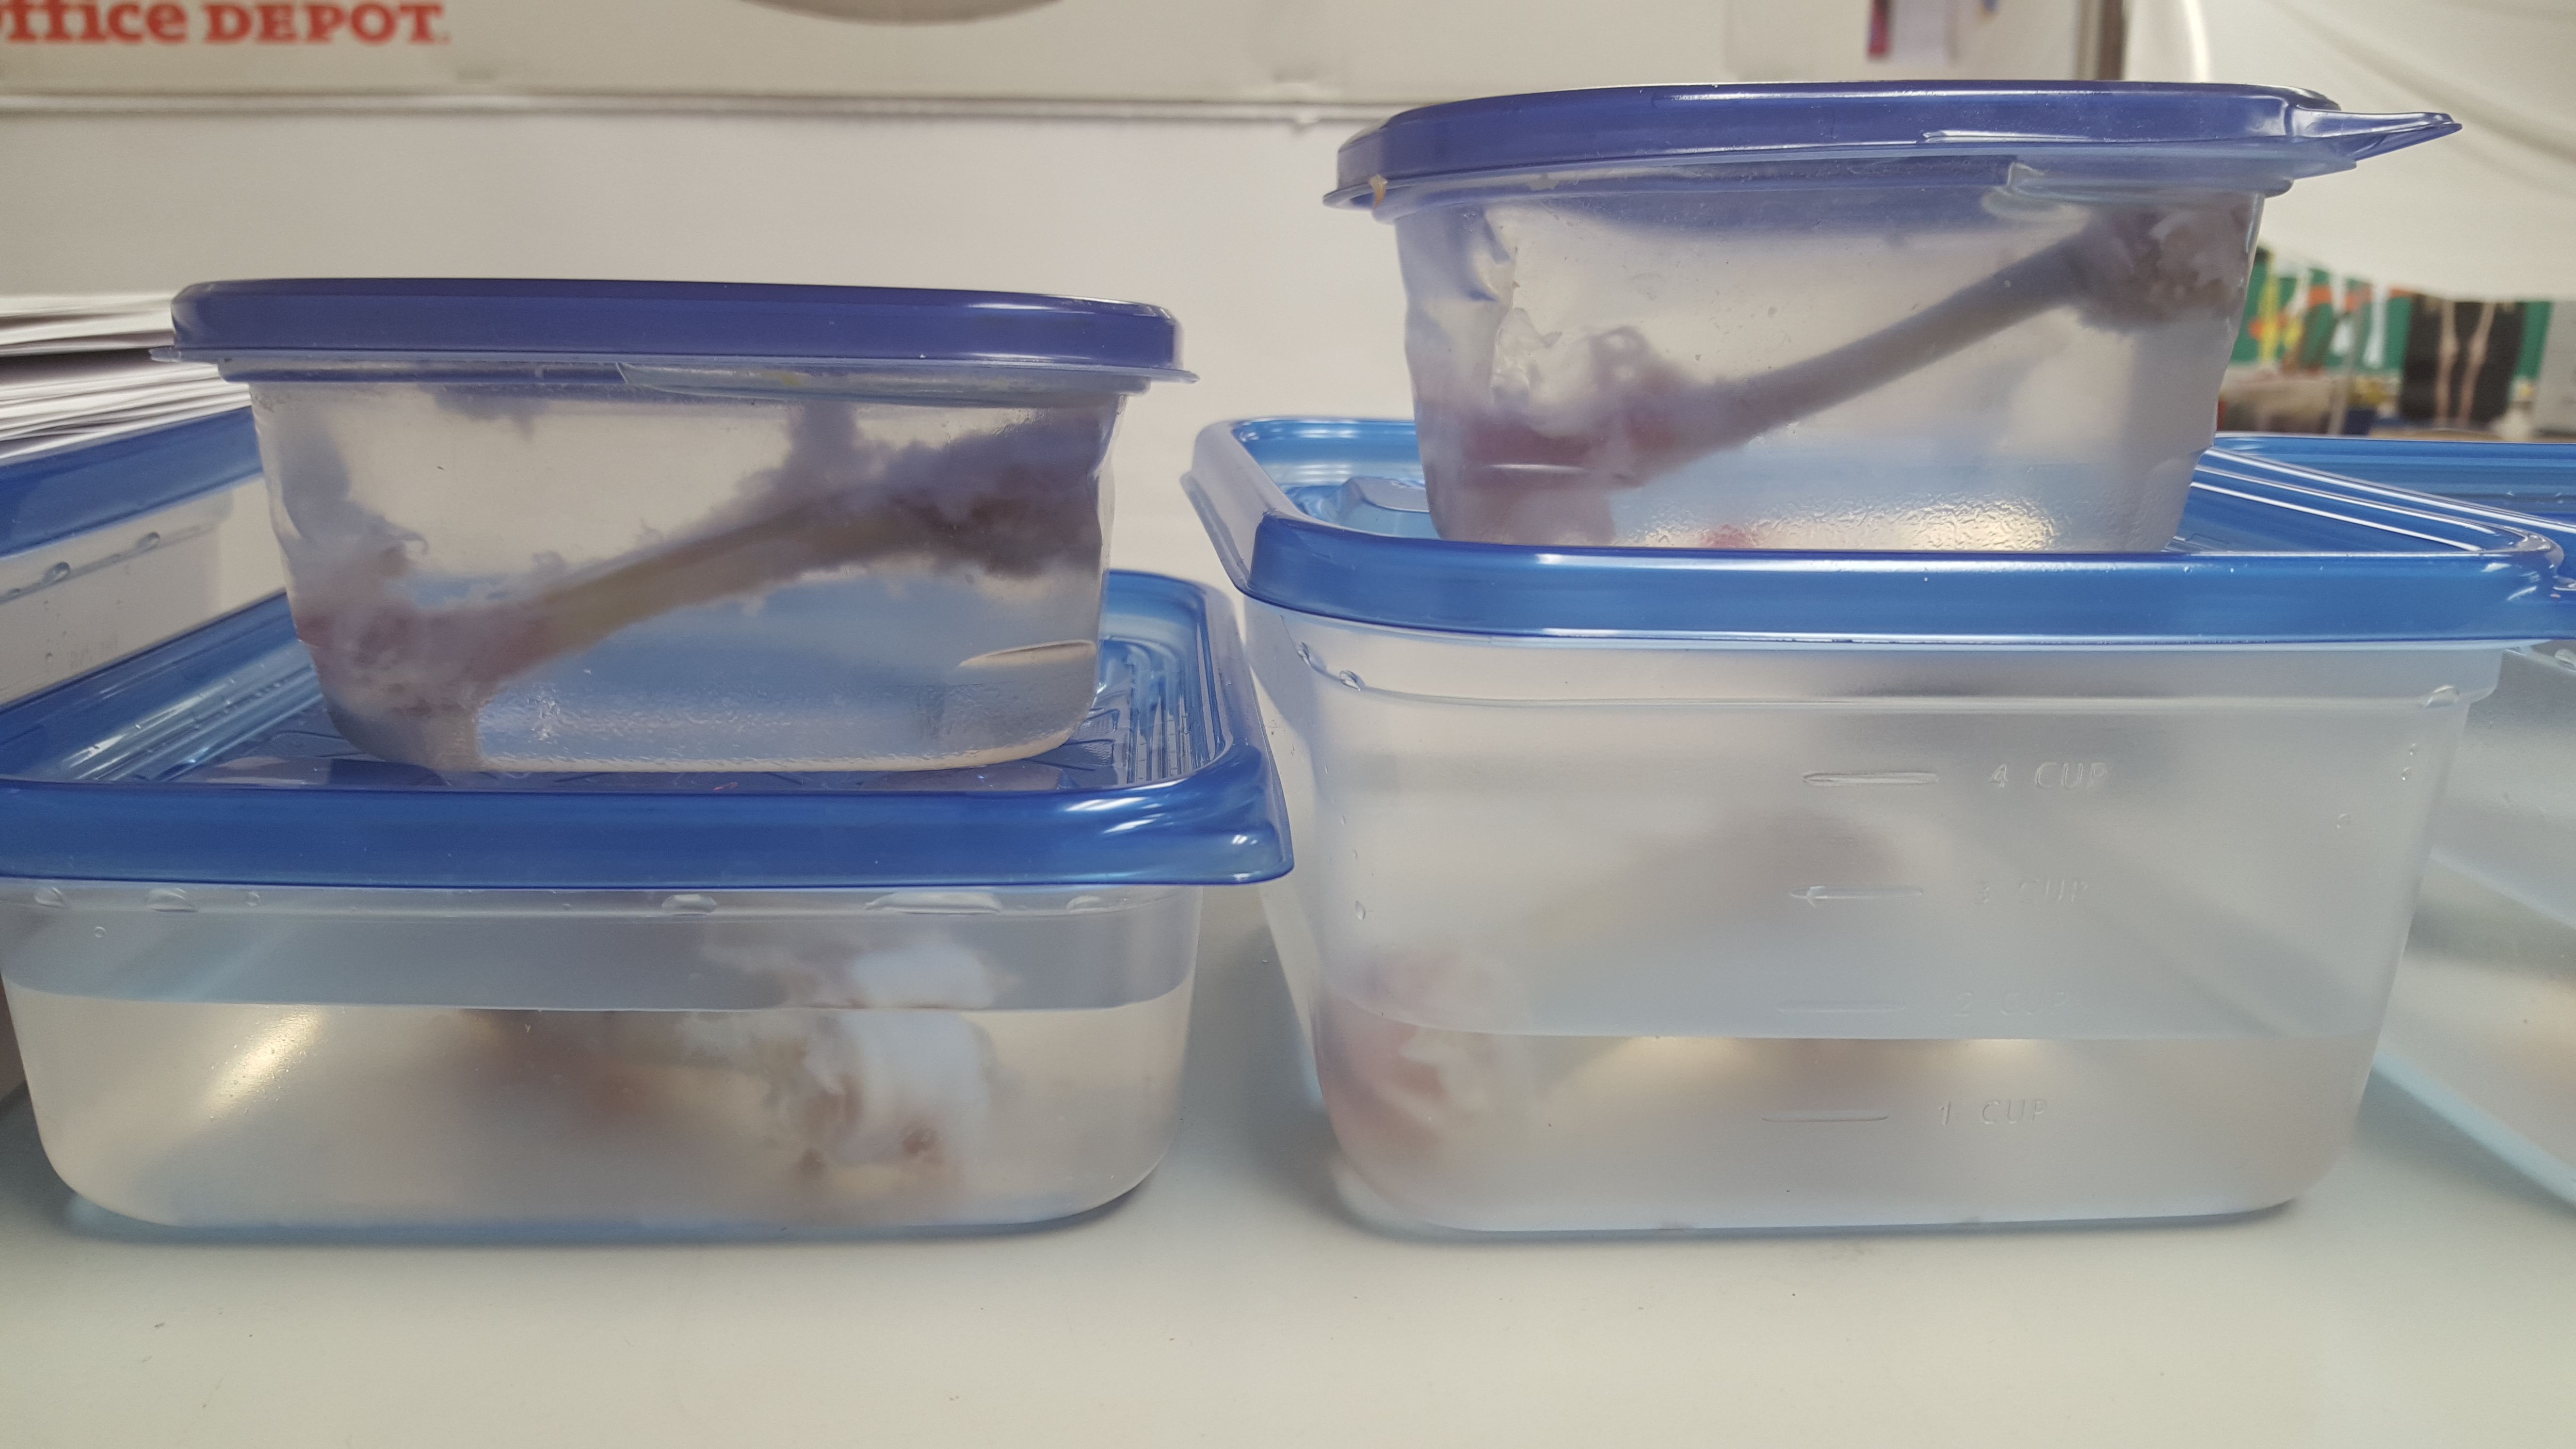
The next day, students put on gloves again and checked their bone’s smell, strength, texture, color, and size.   The bone hadn’t changed much but the color of the liquid was brown.  Students concluded that the deposits were from the bone and must be the nutrients escaping.

2015-12-16 09.39.14

The third day was the last day of the lab.  Students put on gloves again and recorded their observations after taking the chicken bone out of the vinegar.  One group was able to break their bone in half.  They couldn’t believe how weak the bone had become in just three days.  The bone was definitely more opaque and the liquid was browner than the day before.

 2015-12-16 09.41.31

The class concluded that the bone did lose nutrients due to the acid in the vinegar.   When asked what modifications they would make to the lab if they had a chance to do it again, the unaminous agreement was that they would like to do the lab for two weeks instead of three days.  Several students wanted to change out the vinegar each day because they were afraid the vinegar became less acidic over time.  I thought this was very clever because it is honestly a variable I hadn’t thought of.

I decided to continue the experiment by leaving out one one container with the chicken and vinegar for two additional weeks while we were on winter break.  Today, I took out the chicken bone in front of the class and bent it completely in half.  The whole class was so happy that their conclusion was correct and amazed that the bone actually folded into two.

This was such a great experience for my students and allowed them to determine on their own what bones are made of and the importance of keeping their bones healthy.

Signature

Multiplying Fractions

I love teaching fractions.  I remember years ago when I would teach my students a jiggle to remember to the steps to multiplying fractions.  They would chorally sing the chant together and then solve the problem. What could be better, right? All my students got the answers correct and could do any problem I threw at them as long as they sang the song. However, after taking a life changing professional development workshop, I realized that my students didn’t understand the REASON behind the steps they were singing.  They couldn’t visualize what they were actually doing. WOW! ! !

Slide48

Teaching this concept using visuals can definitely be challenging.  My gifted learners often wonder why they need to draw a picture when they know how to solve the problem using the standard algorithm (often times in their heads).  I always explain that it is important to know WHY the steps work and to be able to PICTURE it in their minds.  This way when the problems become more complex, they will have a better understanding of what they are doing.

20151123_131307 I have been working on a unit that teachers could easily implement into their classroom to help students grasp these sometimes challenging concepts.    After months of working them, they are finally available!

You can grab each of these practice packs by clicking on the links below:

20151208_212950 Each unit includes

  • Pre and Post Assessments with Keys
  • Objective Poster
  • Interactive Notes and Foldables
  • Student Samples and Instructions
  • 3 Different Practice Pages and Games with Answer Keys

Slide36

  These practice packs are also available in a bundle. You click here to find it on TPT. Slide01

Signature

Ordered Pairs Drawings

My fifth graders just finished their ordered pairs projects, and I am absolutely amazed by their creativity!

20151119_092841

The assignment asked that kiddos create a picture that included a minimum of five shapes, used only straight lines, and was located in all four quadrants.

20151119_092616

Students also had to create an organized table for each shape that included the quadrant number and ordered pair for each point.  This paper would later be used as a directions page for another student to recreate their picture.

20151119_092549

Take a look at their amazing work!

20151119_092502

20151119_092544

20151119_092650

For board work the next day, each kiddo was given a blank four quadrant graph and another student’s direction page.  It was so much fun to see how the images were redrawn.  Some directions were spot on (all ordered pairs and quadrants were accurate) and the redrawn picture looked identical to the original.  Others though, not so much!

I will definitely be doing this project again next year!

Signature

Dystopia Novel Study

This week has been one of the best weeks I have had with my fifth graders so far!  We just started our dystopian novel study, and I have been amazed at the level of interest and thinking my students have shown.  

I love love love books that take place in dystopian societies.  These books are challenging, complex, and make you question the world you currently live in.  I use to hate to read because it was extremely difficult for me.  Finally, my sixth grade teacher introduced me to The Giver by Lois Lowry, and I fell in love with literature.   I figured since this is a topic I am interested in, my students might get a kick out of it too!

To start our study, I presented my class with a list of “new” rules that would take effect immediately.  Let’s just say they were not thrilled with the new direction of our class 🙂

The rules included:

  1. You are no longer allowed to talk or communication with anyone unless given permission by me.
  2. You can not discuss your past or family with anyone for any reason.
  3. You are being placed into three groups: high, medium, and low and cannot converse with anyone that is not in your group.
  4. During class, you must stay in your seat at all times.

I then had them journal about their feels about the new rules, reasons why rules like these would be implemented, and how these rules affected their rights and freedoms.  At this point I could tell how upset they were (some kiddos looked like they were going to cry), so I finally told them that they didn’t need to worry because these are the types of rules that you might see in a dystopian society.  I don’t think I heard a greater sigh of relief ever in my life as I did at that moment.   

Before students are able to choose their dystopian books on Friday, they are learning about the 6 characteristics of dystopias and identifying these characteristics in a short story.   Each day I have had at least ten kids stay after to talk to me about the lesson and other dystopian books they have read.  It has been so much fun!   I am thrilled that I found a topic that my GATE students universally love!  

What a great way to start a new unit!

 Signature

Survival Week

Survival Week has been a blast. My fifth graders just finished reading The Cay and as their culminating activity all 35 students in my GATE class got to build solar ovens, create shelters, classify real plants using a field guide, tie knots, and construct water filters.  These projects were so much fun and allowed my kids to experience what Philip went through in the novel.  In addition, they continue to develop their problem solving, critical thinking, communication, and interpersonal skills.

The_Cay_cover

Shelters

By far, constructing shelters was the class favorite. I gave each group 4 pieces of wood, 3 feet of rope, masking tape, and a plastic tarp. Only one group successful completed the challenge, but it was so much fun to watch everyone problem solve and adjust their designs to create the most stable shelter possible.

2015-11-10 14.06.03


Solar Ovens

The other favorite was making solar ovens. I provided each group with directions, a pizza box, plastic wrap, tin foil, scissors, black and red construction paper, and a Popsicle stick. After groups made their solar ovens, it was time to test them out by making SMORES! Students couldn’t believe that the ovens actually worked (especially since it was only 50 degrees outside).

2015-11-04 14.02.52 copy


Classifying Plants

Students worked in their groups to identify plants using a field guide.  I found this great guide and went out one Saturday and collected ten of the plants from the book.  I then put each of the plants into a ziplock bag and numbered it.  Students looked at the pictures and descriptions in the guide to classify them.  This proved to be very hard for my class. Three groups were able to successfully match 7 of them and all the other groups only matched 4 or less.  I loved this activity because students had to pay very careful attention to detail and the answer was not always obvious!

2015-11-05 14.08.32


Tying Knots

I found the Boy Scout Knot Tying Guide and made a copy for each of my students and gave them two feet of tope.  Students had to use the guide to tie as many knots as possible in 20 minutes.  I wasn’t sure if they were going to like this station as much as the others, but everyone had a great time!

2015-11-10 14.03.22


Water Filters

The final rotation was to the water filter station.  Each student was given directions, cheesecloth, sand, gravel, plastic water bottle, rubber band, and a pair of scissors.  Once students believed they had successful built a water filter, they came me to get a cup of dirty water (potting soil mixed with water).   Some kiddos struggled but they eventually made adjustments when they saw their peers successfully complete their filters.  All of the filters worked great!

2015-11-12 14.01.58

I will definitely be doing this project again next year!

Signature