My first graders just finished their Careers of Today Lapbooks, and they look amazing. Not only were the final products great, my students were able to apply all of the researching and reading comprehension skills they have been working on over the past 7 months.


Choosing a Career
To begin the project, I placed ten books about different careers in the middle of each table group. I tried to include a variety of modern jobs for students to choose from. I asked students to take a book from the middle and spend two minutes previewing it by looking at the pictures, reading the back cover and first page, and deciding if this was a career they would like to have someday. I then rang a bell and students placed their books back in the middle and chose a new book. We did this ten times. The process took about 25 minutes but the time they spent reading, evaluating, and synthesizing was well worth it.
At this point, students had to choose one career that they would like to research. Some students definitely had a hard time narrowing it down, but in the end, everyone chose just one!
Research
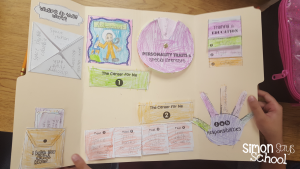
The next step was doing research. Students were given graphic organizers that broke down the information they had to find into five categories: what do they do?, where do they work?, what tools or equipment do they need?, how do I become one?, and other interesting facts.
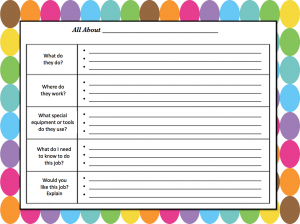
We had just read a book about park rangers together as a class and completed a similar organizer together on chart paper. I really emphasize to the kids the importance of using bullet points and paraphrasing. As an upper grades teacher, I know how important it is for kids to be able to take notes and not to plagiarize. This is definitely a challenge with first graders but they have gotten so much better the more we have practice.
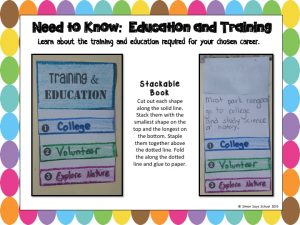
Students used the books they had previewed to complete their organizers. The category, how I become one?, was definitely the most challenging section for students to complete. I asked that kiddos include 3-5 bullet points for each heading and most books didn’t go into great detail into the education and work that went into getting that job.
The Lapbook
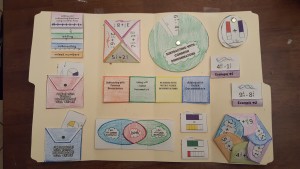
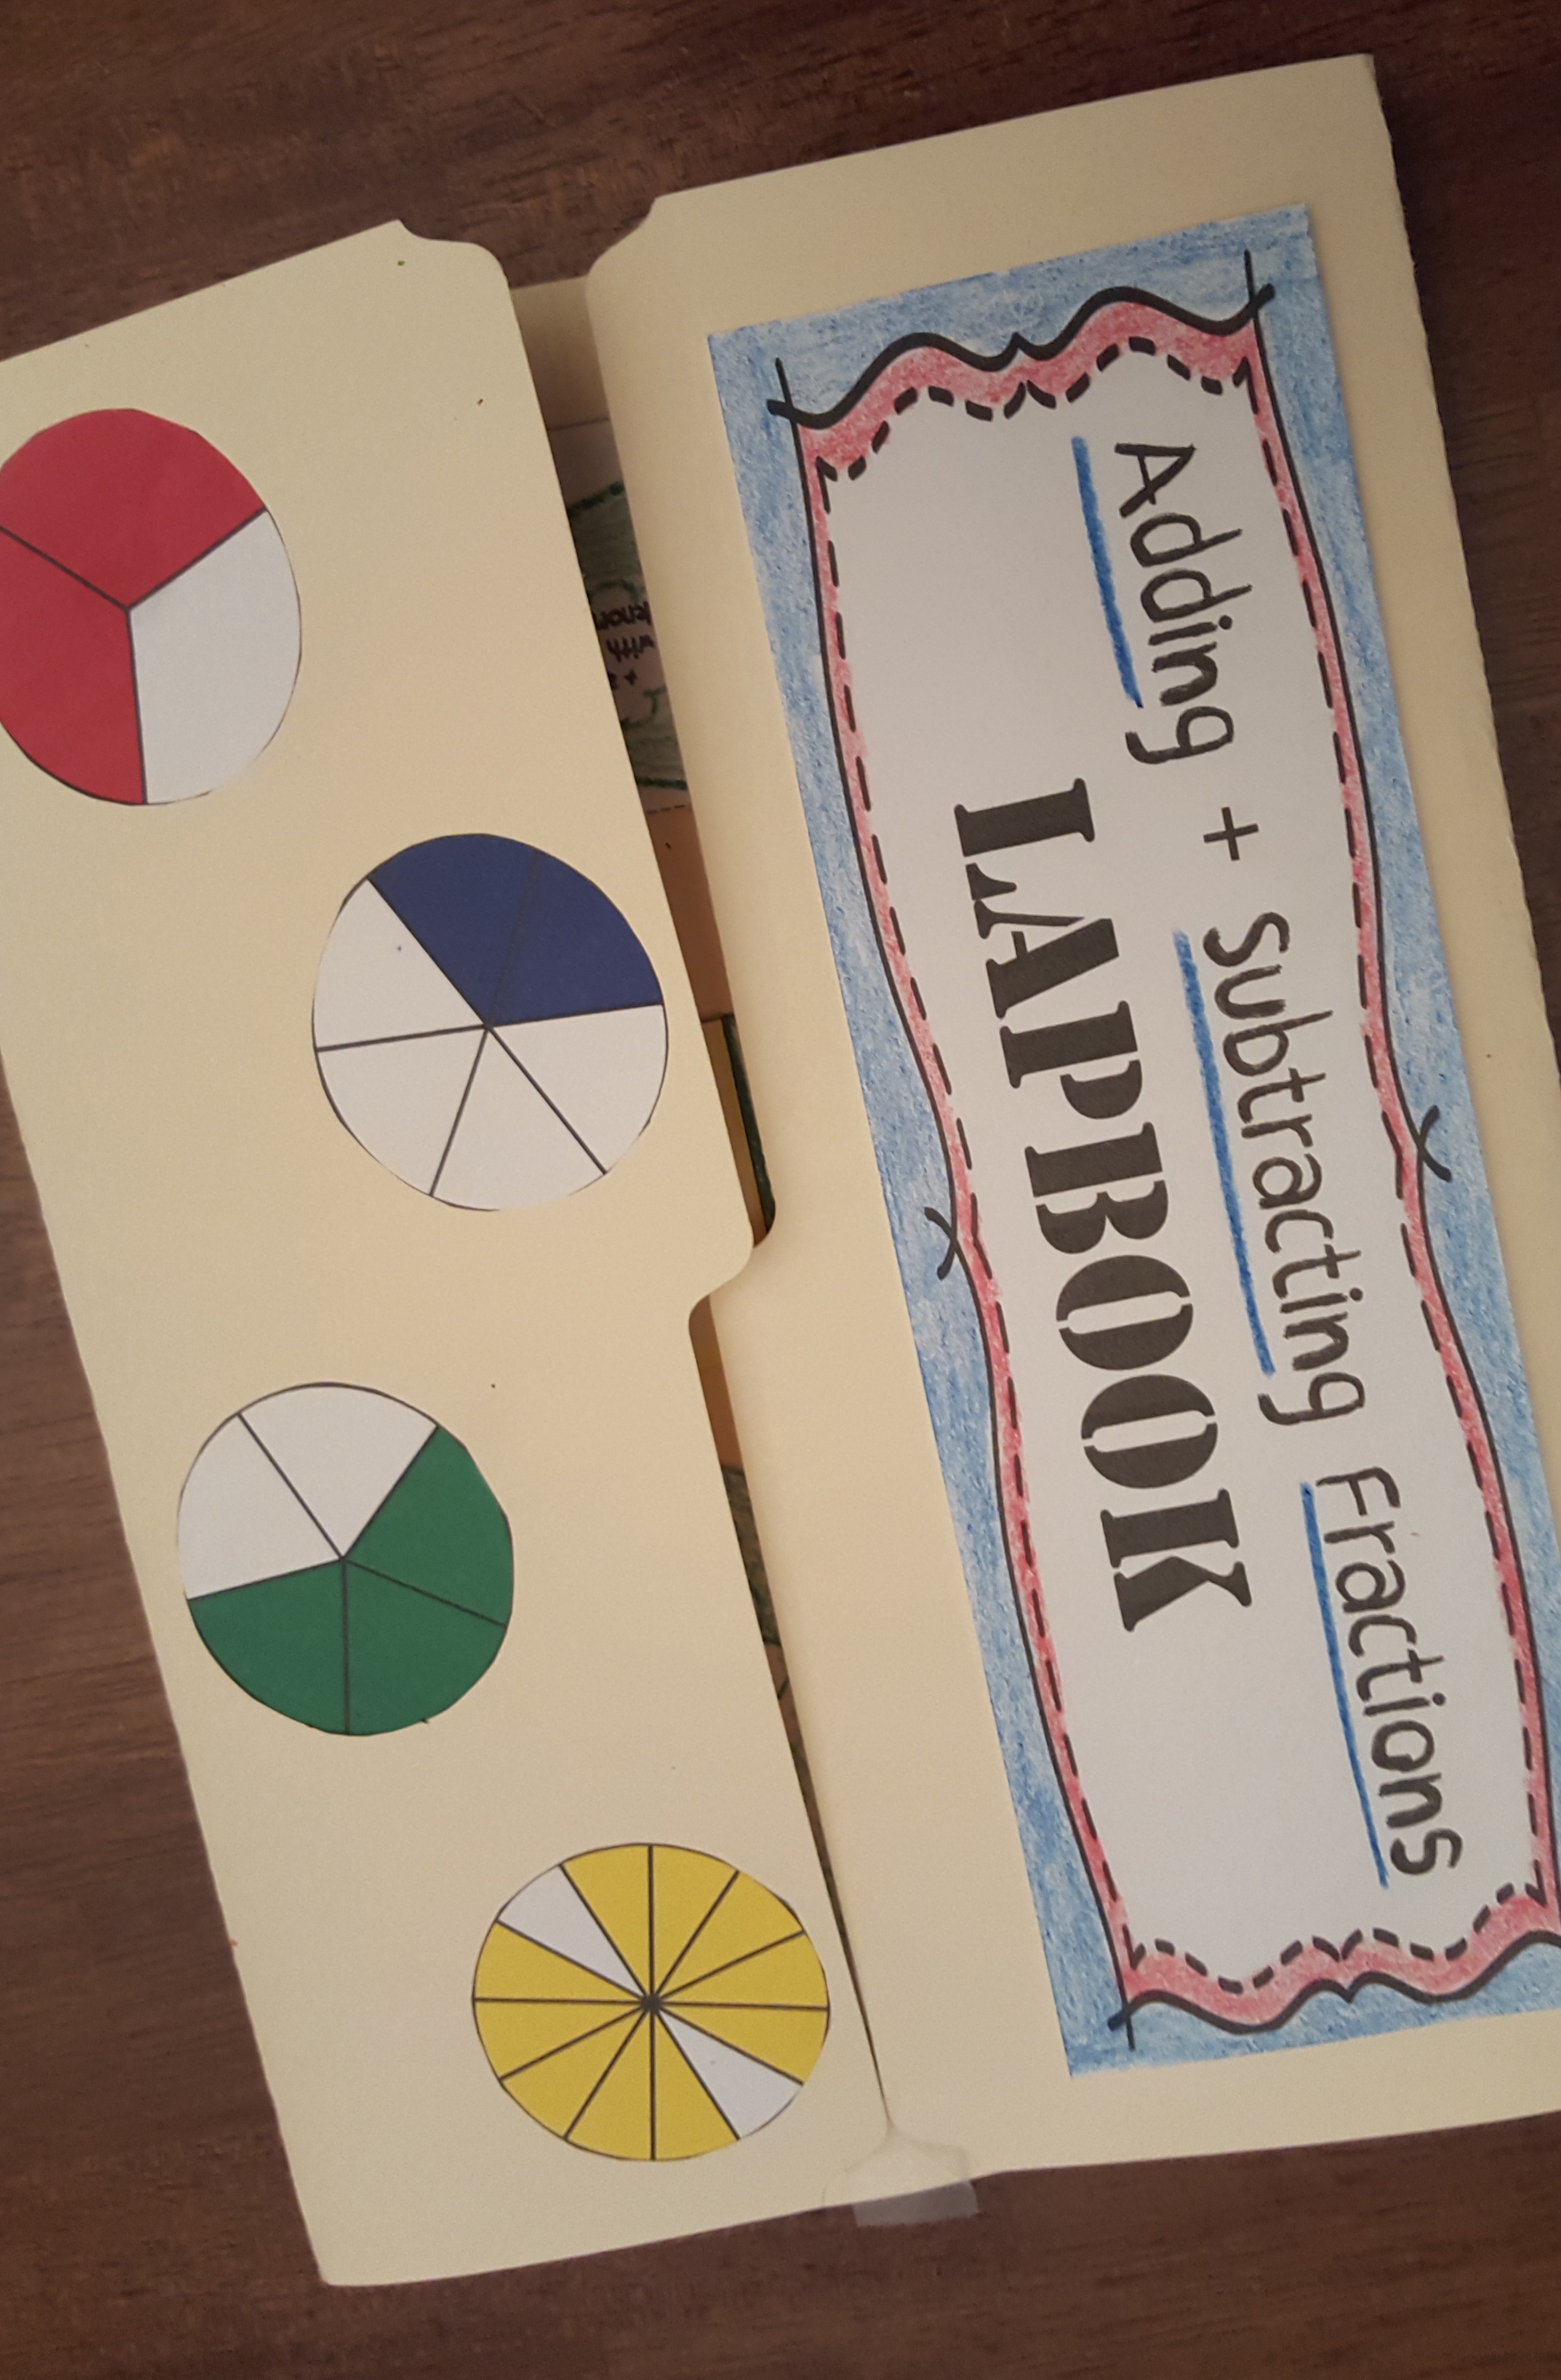
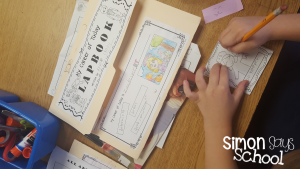
After my kiddos had completed all of their research, we completed the cover of the organizer and each foldable one at a time. Each foldable took about 20 minutes to complete. I precut everything as much as I could beforehand and I also folded all of the lap books before passing them out to students. I took the project slow but allowed students who moved quickly the chance to keep going and begin working on the next foldable.
Presenting
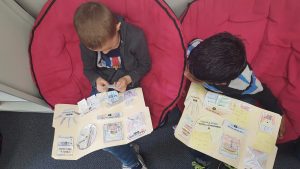
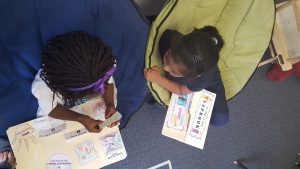
As students finished their lapbooks, I had them pair up and use their lapbook as a tool to teach the other students about the career they researched. I loved hearing them talk so knowledgeably and excitedly about their jobs. Once they were finished presenting, I had them switch partners. In the end, students presented at least four times and became mini experts of their chosen career!
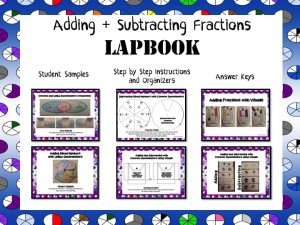
If you are interested in doing this project in your own classroom, you can find this resource here.
This resource includes all the foldables you will need with step by step instructions.

Pictures of student samples are also included.
I hope your students have as much fun doing this project as mine did.