Adding and Subtracting Fractions Lapbook

My class is now in the midst of fractions.   This is a huge (and I mean huge) standard in fourth and fifth grade!  I currently use an interactive notebook for math but decided to change things up this year.  I saw a great video online on lapbooks and decided to make my own to teach adding and subtracting fractions and mixed numbers.  

2015-11-06 21.03.40

My students have loved creating the foldables and inserting them into their lapbook. They constantly pulled it out as they worked independently and in small groups as an easy reference tool.

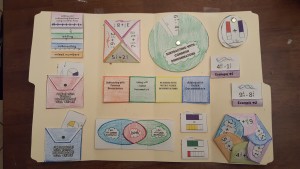
To begin, I had each student fold a manila folder so that both sides folded out from the middle. Then they created the cover and decorated it.

2015-11-06 21.02.25

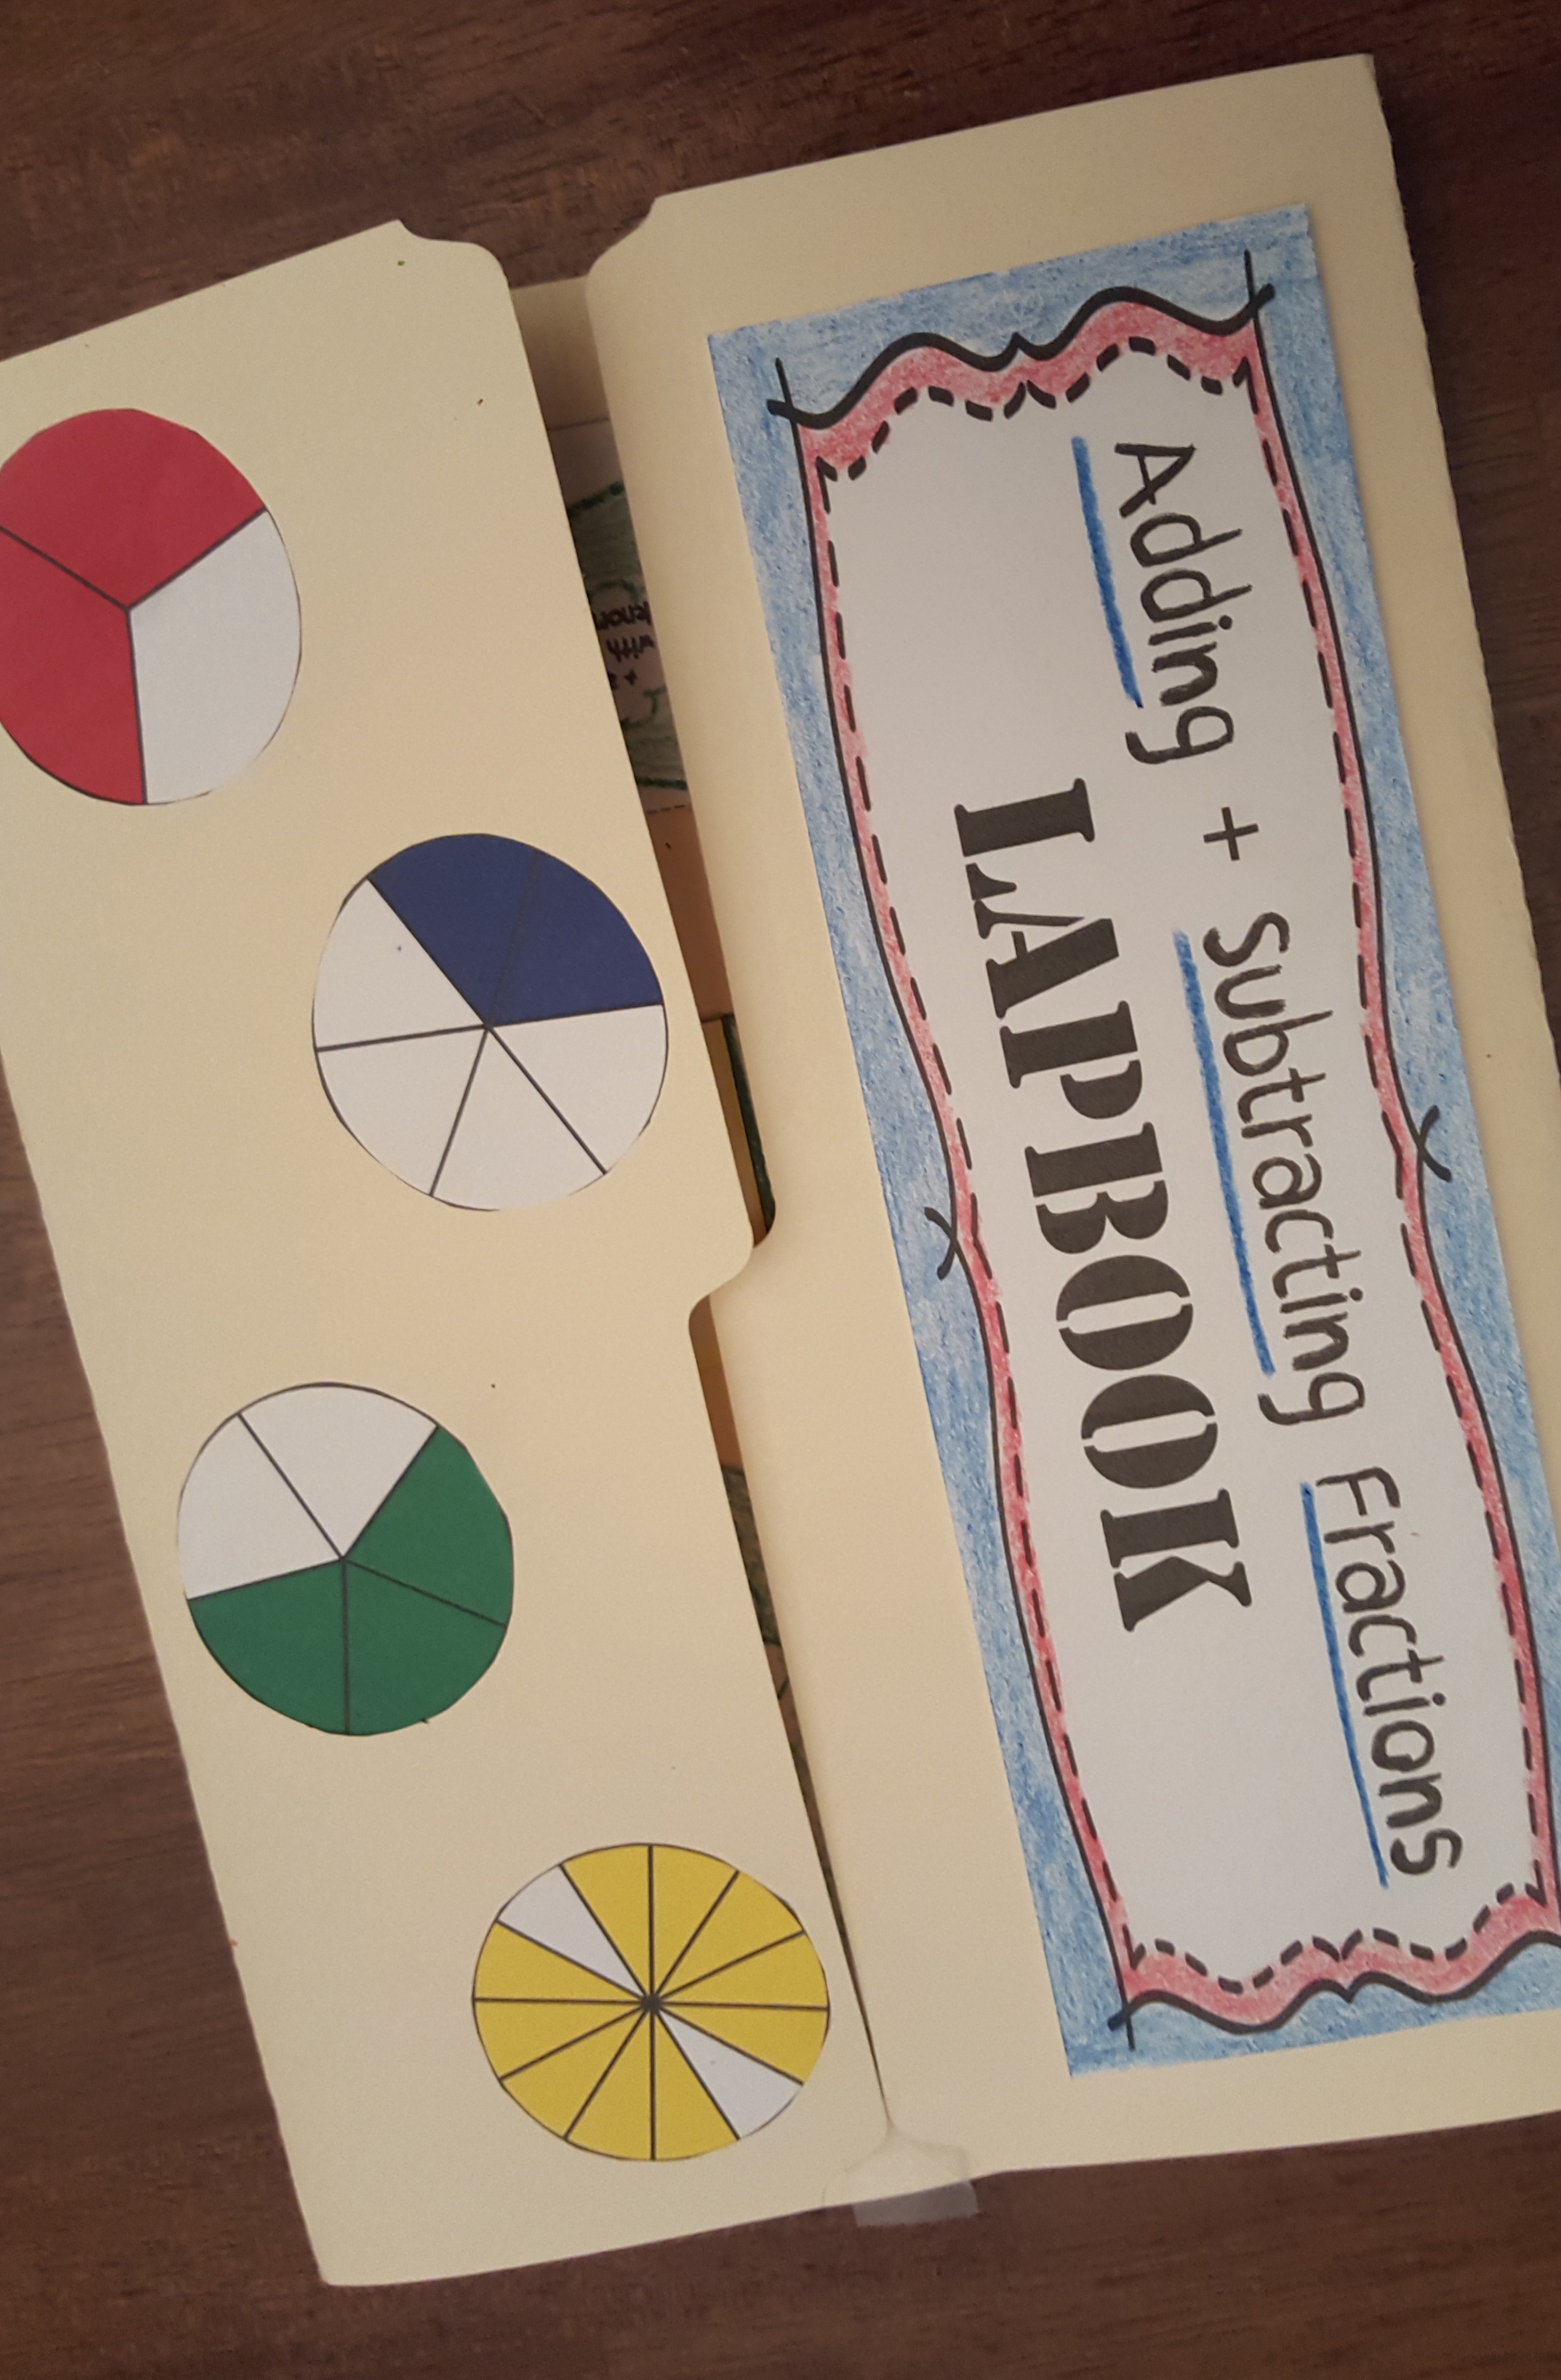
Next, I used Four Column Flipbook to review the steps to adding and subtracting using common denominators and then had the practice using the Visuals Envelope Pockets and number lines stackable book.

Slide10

Once they had the basics down, it was time to introduce adding and subtracting mixed numbers with common denominators. Students loved making the wheel which made this sometimes tricky concept easier to grasp.

Now that students understood common denominators, we began adding and subtracting unlike denominators. This has always been a challenge in the past because so many concepts come together (LCD, equivalent fractions, +/- fractions, simplifying).

I used the flow chart and handprint to teach students the steps to +/- unlike denominators. I love breaking math concepts into simple easy to follow steps and had students put up each finger as we reviewed the rules on their own hands.. They then practiced using the swinging ovals which they put fastened together using a brad. Starting with visuals is always a great way to lay the foundation for abstract concepts.

20151108_191426

Students continued to practiced using other organizers as they moved onto mixed numbers.

2015-11-06 21.07.25

I definitely feel that that this lapbook was a great alternative to worksheets and interactive notebooks.

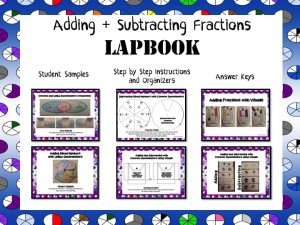
I included in this lapbook pack student samples, answer keys, and graphic organizers with step-by-step directions, so that other teachers who make this lapbook will have an easy and hassle free time.

Slide02

Sometimes it is fun to change things up!

Signature


Long Division Strategies

Now that Common Core has changed the way we teach division, teachers are scrambling to find resources to teach repeated subtraction and the area model.  A lot of the resources out there are geared towards simple division problems consisting of one digit divisors.  Unfortunately, there are NOT many resources for teachers in the fourth and fifth grade.  Textbooks continue to cover only the standard algorithm, and we have been given no help to teach these new strategies.

This is why I created two different task card packages which can be utilized in so many ways.   Each pack includes a student directions page which provides step by step instructions and a model of how to use the strategy.

Slide03

In addition, a game board, rules card, and spinner are included so that you can quickly turn the task cards into a fun and engaging game!

Slide10 Slide09Area Model for Long Division

This is probably the hardest strategy to find resources for because it is the most difficult to teach.  In this pack, I included a task card answer key with the area model completed.  You could post the answer task cards around the room for students to self-check their answers.

Slide01

Repeated Subtraction for Long Division

Right now, there are a lot of repeated subtraction products for simple division problems available, but for fourth and fifth grade you have to use the strategy for long division with two digit divisors.   This is why I created this pack of task cards.

Slide06

As a long division strategy, it is the easiest one to understand; however, it is also the easiest to make mistakes.  A lot of problems have quotients of 25 or more.   This would be extremely time consuming which is why all of the quotients in my pack contain more manageable numbers.

You can find both of these task card packs by visiting here.  Task cards are absolutely wonderful, and  I hope you find these resources helpful!


Westward Expansion – What a journey!

I love project based learning, and I also love love love teaching about Westward Expansion.  Put the two together and I am in heaven.  When I first moved to fourth grade many years ago, I wasn’t all that excited about the prospect of teaching Idaho history.  However, when I realized that I would get to teach about the Oregon Trail, I was elated.

What is Westward Expansion all about?

This is the question my kiddos always ask when I tell them what our next unit of study will be.  Most have never heard of Westward Expansion before let alone Manifest Destiny, Oregon Trail, or wagon train.  This is why building background is so important.

To do this, my students create ABC Books of the Oregon Trail.

Cover

Groups work together to identify several important and meaningful words associated with their assigned letter from their research.   Within each group, they evenly assign themselves letters of the alphabet and use the ABC graphic organizer to track important words and phrases.  It is really important that students write down a short sentences about each word so that they can use the word correctly in context later.

Graphic Organizer

After they have three words and a short description for each letter, they will write a well-written paragraph that accurately uses their chosen words in context.  I always ask that they underline or somehow make their chosen word stand out.   Finally, each student will then draw an illustration that relates to one or more of their chosen words.  Look at these great examples:

Slide04 Slide20

I now have students use this really cute final draft paper.

Letter A

In the end, students presented their completed books to the class to show their understanding of this amazing period of US history.


Rubric

As a gift, I take each group’s ABC book and create a small hand held version that they can each take home and share with their families.   This is definitely a fun project that I not only love to teach but my students love as well!

Signature

Moving West – Wagons

This year, my fourth graders are taking a journey west in a fun and exciting pioneer simulation.  To help set the stage and get my students excited about this unit, my class and I turned our room into a wagon train.  I think it came out pretty well!

To create the wagons, I duct taped pvc pipe to both ends of each table.   I came in on a Saturday with my husband because I wasn’t sure how challenging it would be and wanted some additional help.  You could do it on your own but having someone there to help is really nice.

In addition to using duct tape, I also used two zip ties to fasten each pac pipe to the table leg.  I am sure that the amount of duct tape I used would be sufficient but I just wanted to make sure that everything was securely fastened.

The next day, students used white plastic table cloths from the dollar store to create the bonnets and tied them using cord.   This was so much fun to watch.  I really wanted to see how students would attach the bonnets on their own so I gave little help.  Most groups were able to problem solve and attach their end of the bonnet successfully but a few groups required a little more help.

I think they ended up looking fantastic and my students had a blast putting them together.

This is the perfect start to our moving west unit!

Signature