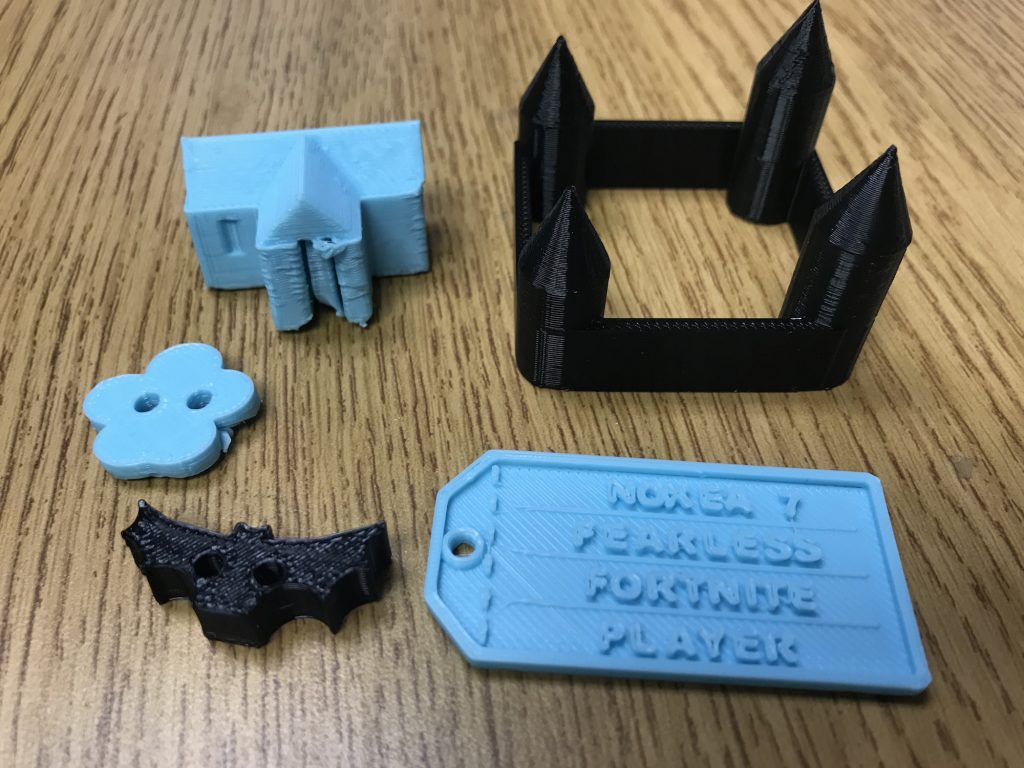
After my kiddos suggested that we purchase 3D printers for our classroom, I was honestly a little nervous. I thought the idea sounded cool, but I didn’t know the first thing about 3D printing. I knew:
- I love to learn and am pretty competent with technology.
- I teach an amazing group of students that thrive when challenged.
Because of these factors, I knew that together we could make it work!
Thus began Phase #1 of researching and buying two 3D printers, choosing a program to teach my students and I how to build 3D objects, and creating a unit plan where that allowed for differentiation, levels of complexity, and that was also engaging. You can read all about Phase #1 in my blog post HERE.
Phase #2
After my kiddos had a strong foundation, I knew they were ready to take what they learned to the next level by creating their own original designs. And what better way to do that than creating their own board games. Why board games? Well, there are several reasons:
- My family loves board games (not monopoly but more modern games like Pandemic Legacy).
- My students LOVE board games just as much as I do so I knew had would have buy-in.
- Board games would allow kiddos to have a lot of choice (theme, characters, rules, etc).
- Game pieces could easily be 3D printed.
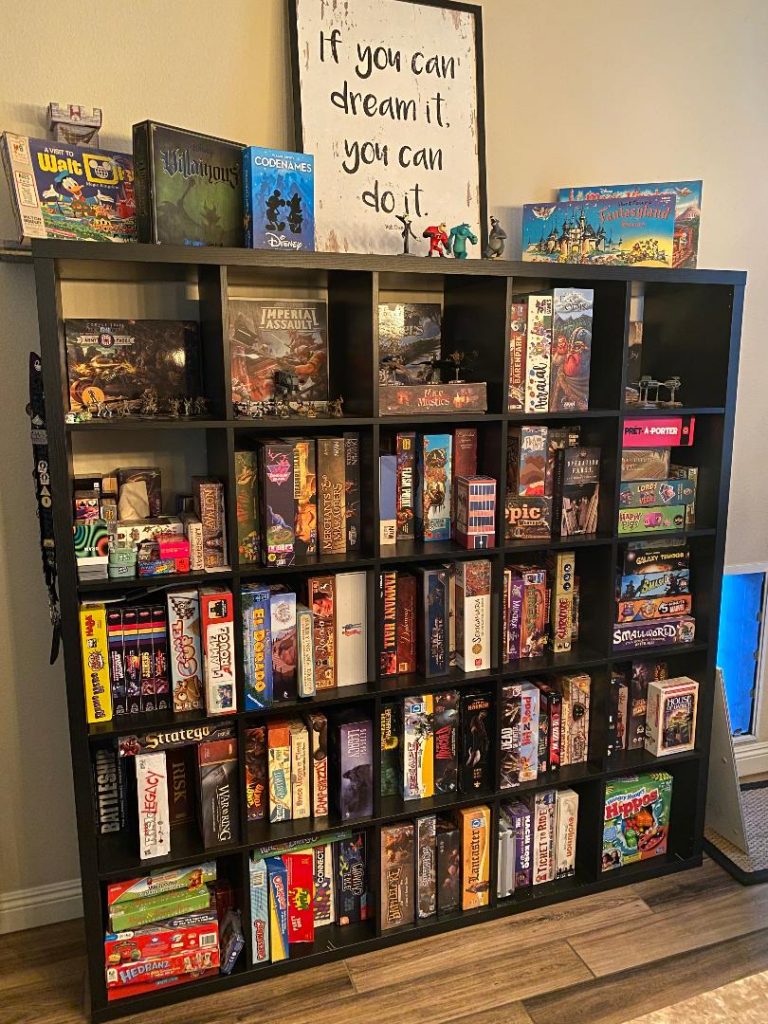
The first step was for students to evaluate different board games and come up with several lists:
- Essential elements needed by all board games.
- Elements Liked
- Elements Not Liked
Story and theme was determined to be the number one element needed by all board games. Skill vs. chance, mechanics, playability, ascetics, and cooperative vs. competitive we’re also listed.
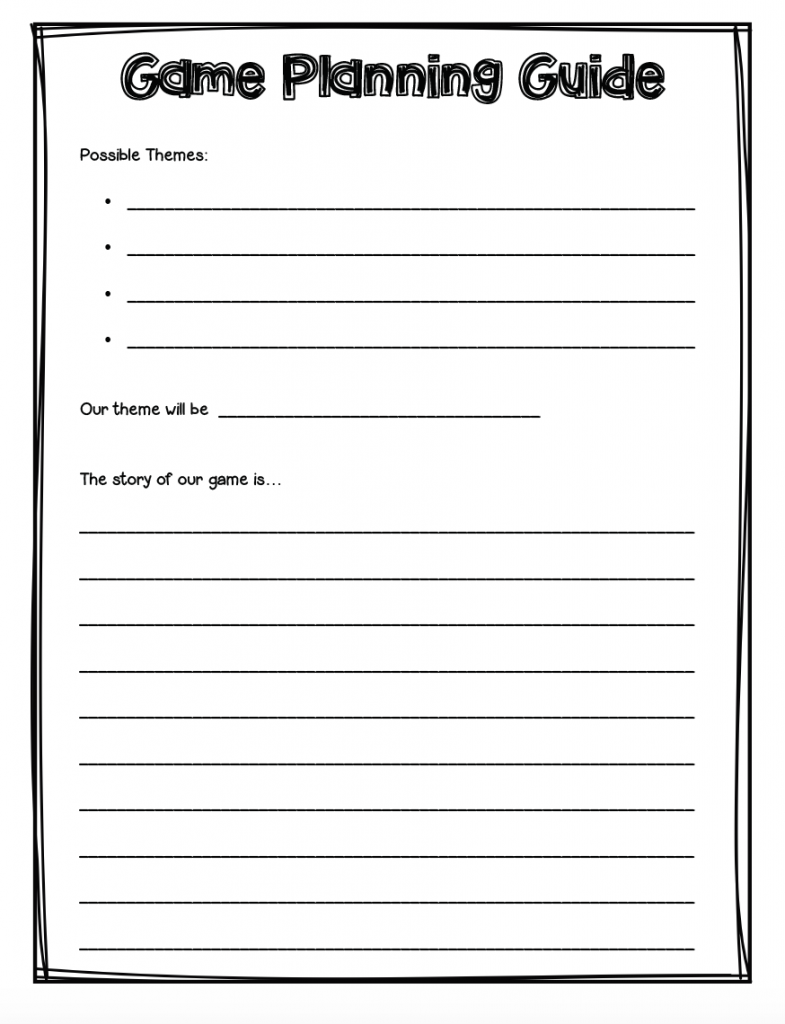
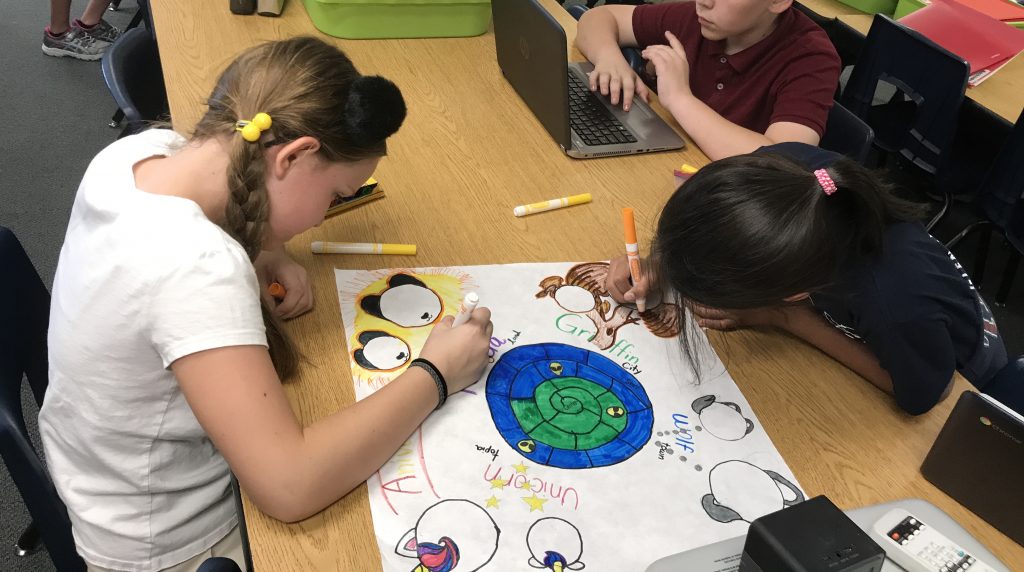
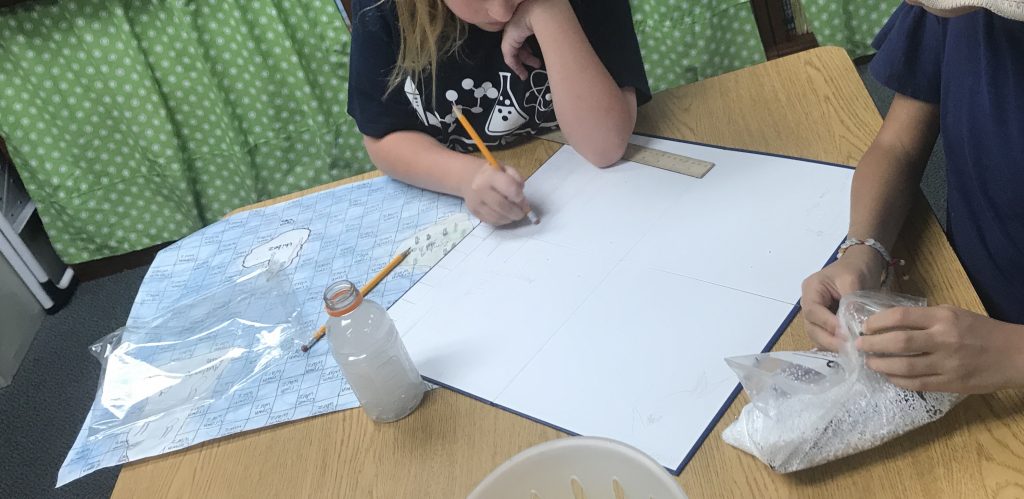
Students spent weeks planning their board games with their teams. Along the way, I provided guidance as I conferenced with each group.
Teams had to complete a planning guide with their game’s
story, rules, game pieces , and a first draft of what their game would look
like. This is also the stage where kiddos had to determine which game pieces
would be 3D printed.
Once the first draft and planning guide were
reviewed by me, students divided responsibilities and began working.
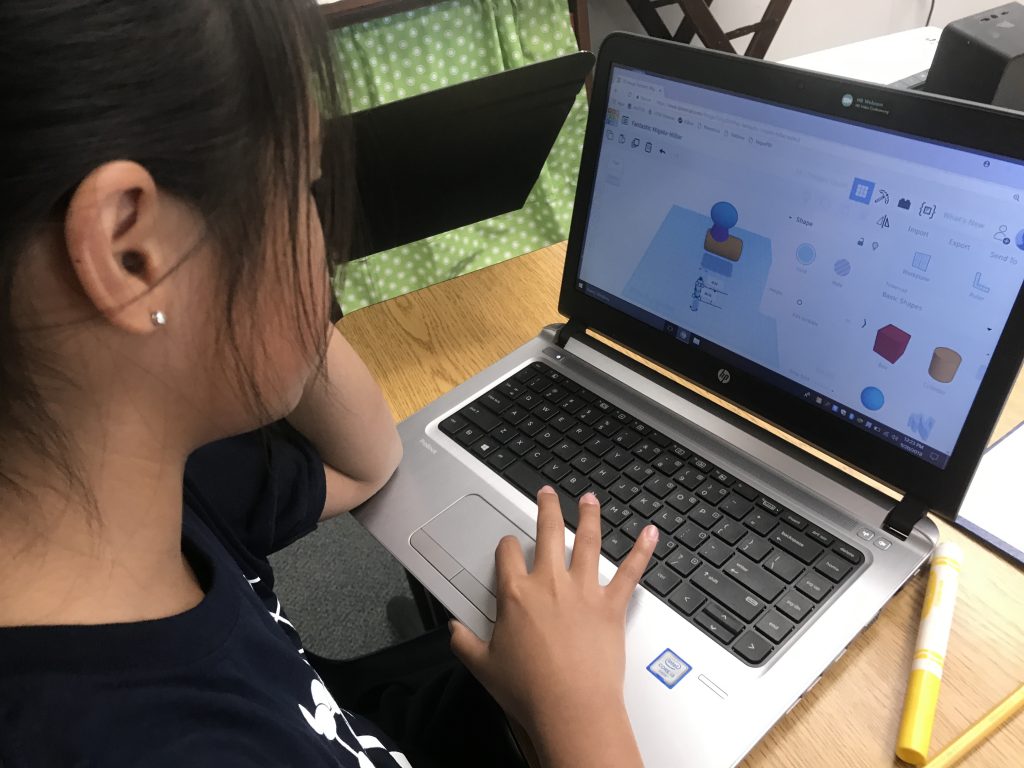
One requirement was that all students in the group had to design at least four 3D printed game piece on Tinkercad. Some kiddos felt more confident with the technology but it was important that ALL student spent time with the software creating their own original designs.
Other jobs and responsibilities were…
- Making the game board
- Creating the player’s guide
- Decorating the 3D printed game pieces with paint, 3D pens, or whatever else they wanted to use.
- Designing and making the game board.
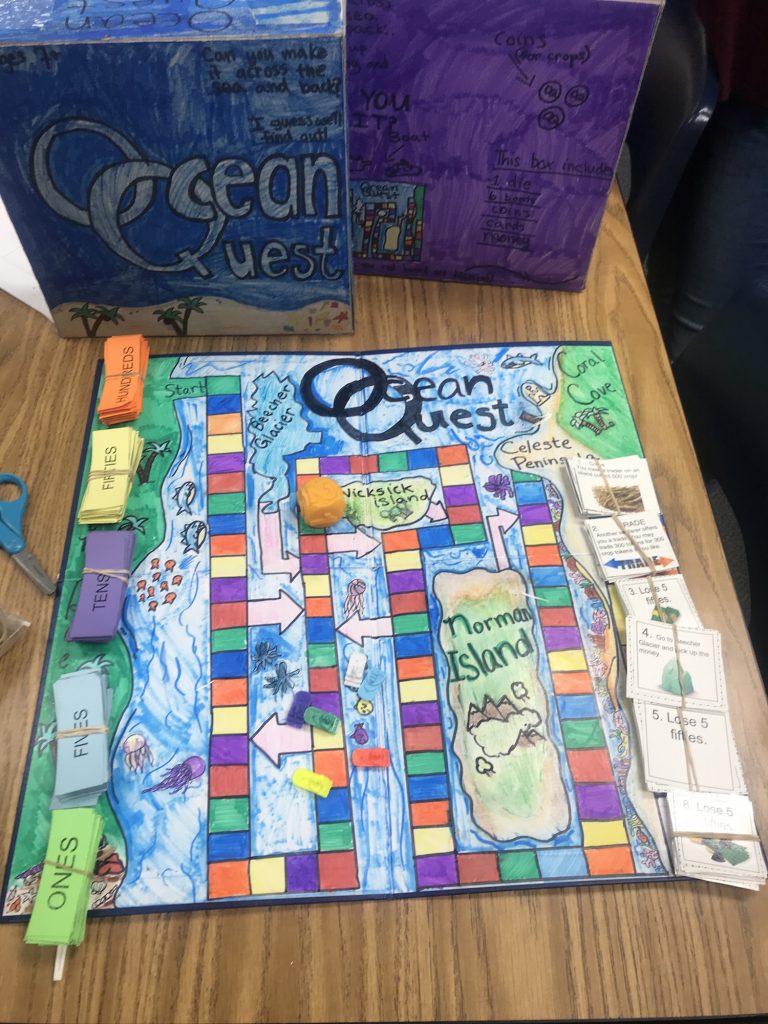
- Creating all the other non-3D printed game pieces like cards, tokens, currency, etc.
I purchased blank game boards and game boxes because I wanted to make this experience as authentic and personal as possible.
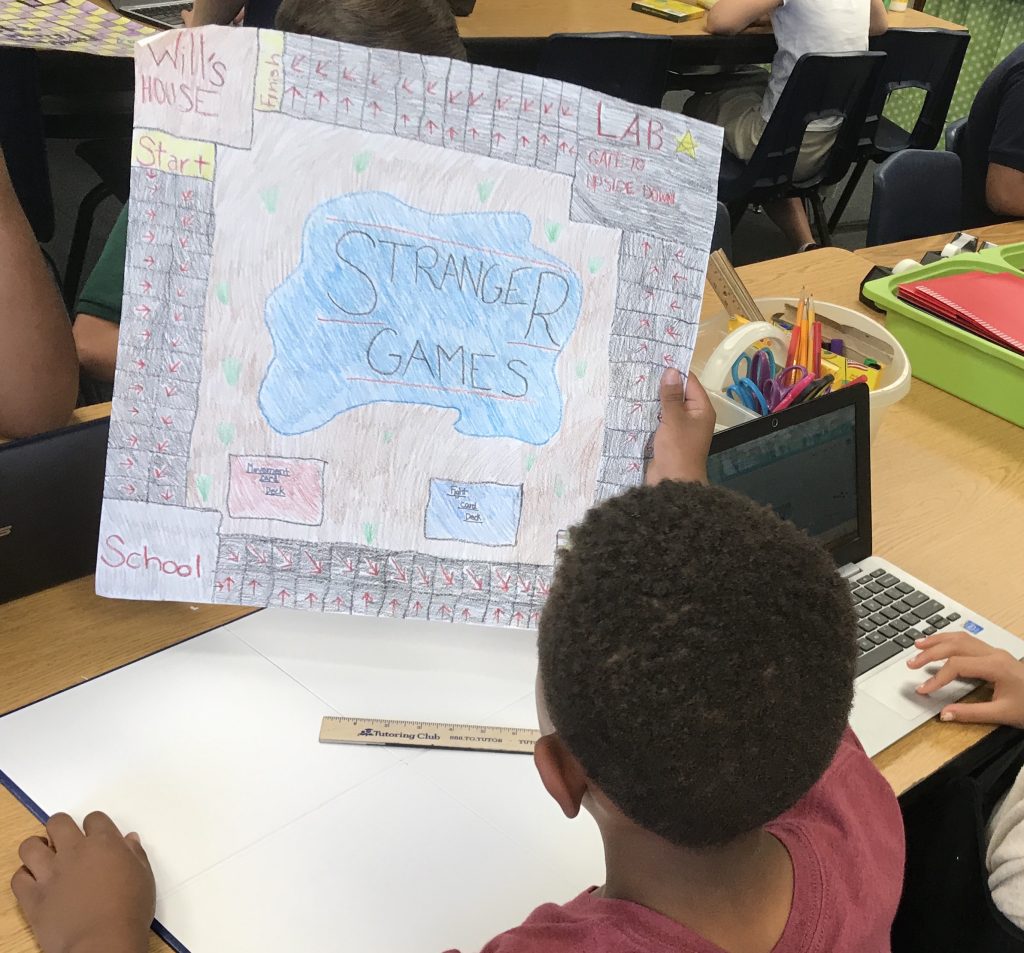
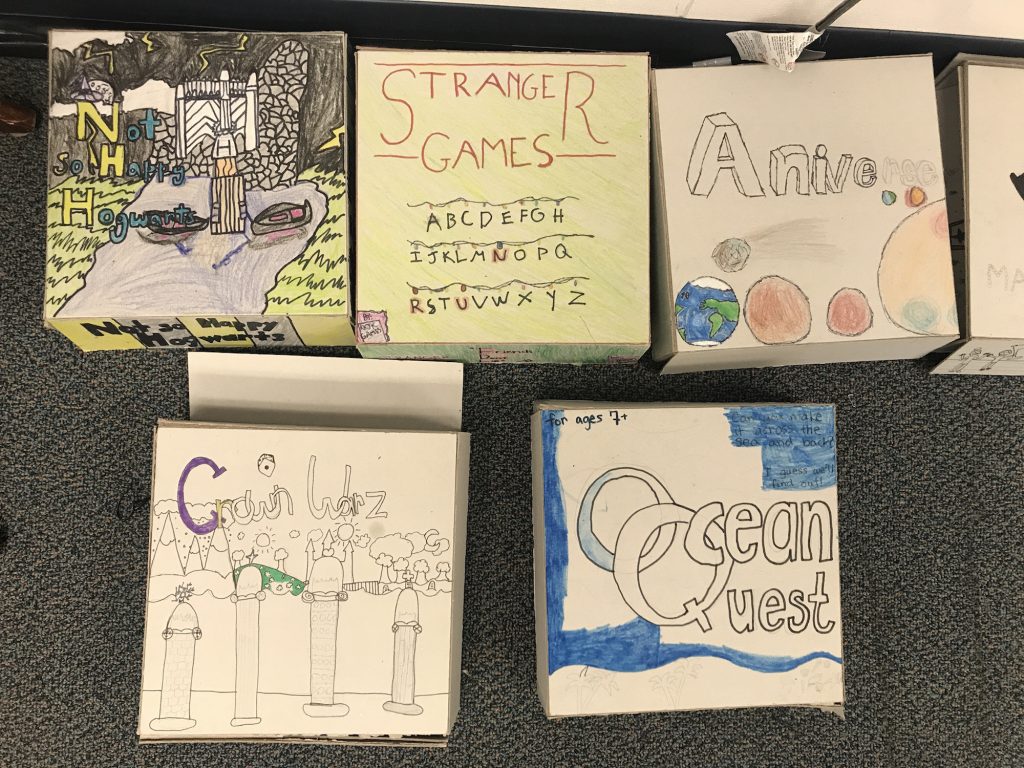
This process took my kiddos about a month meeting daily for 35 minutes.
Time management was definitely the most difficult part of this unit for students. It took them two or three times longer than anticipated to do just about everything.
The 3D pieces they created though were absolutely amazing. I was so impressed but the originality, creativity, and ingenuity of their designs.
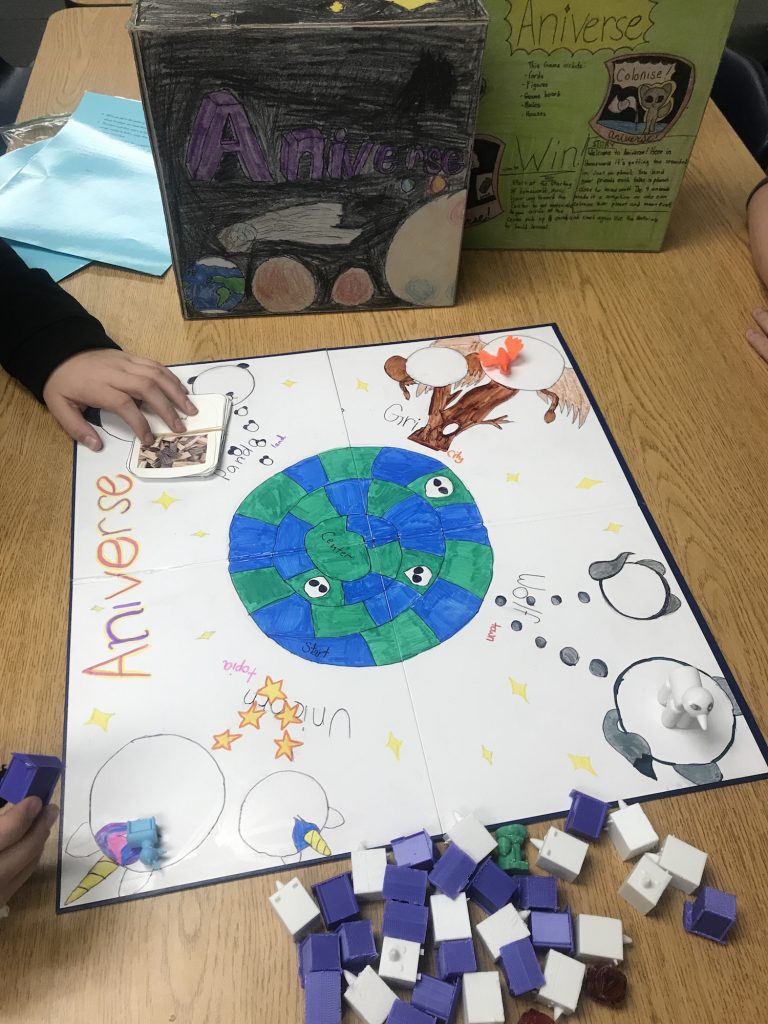
Once all the games were done, we invited my kiddos’ families to come in and test out the games. Players were asked to rate the ascetics, story, mechanics, and overall playability of the game.
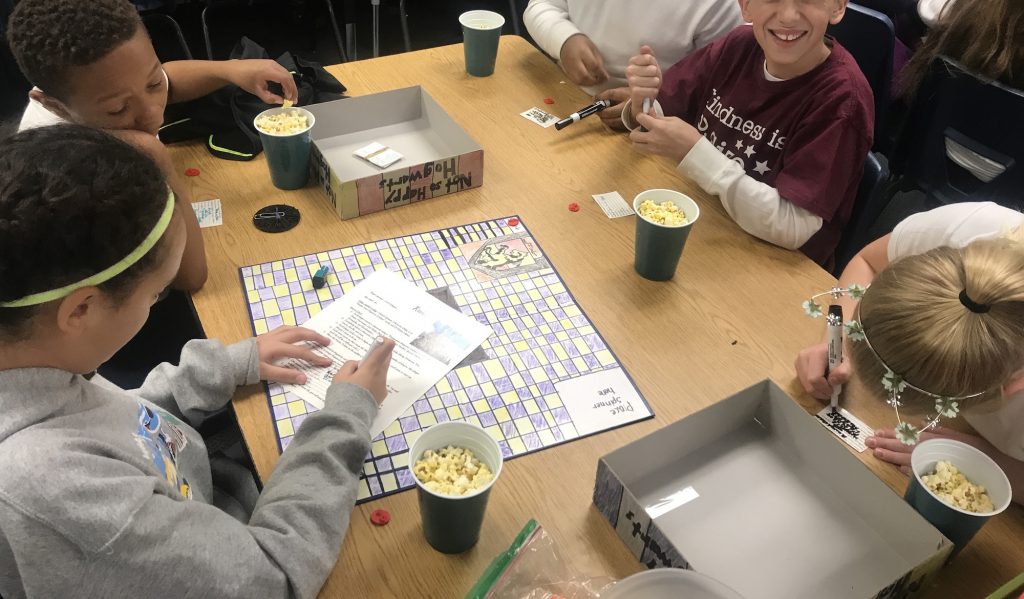
I only heard amazing feedback! Some games definitely played better than other and were more thought out, but everyone who played agreed that the effort and creativity of these games were off the charts!
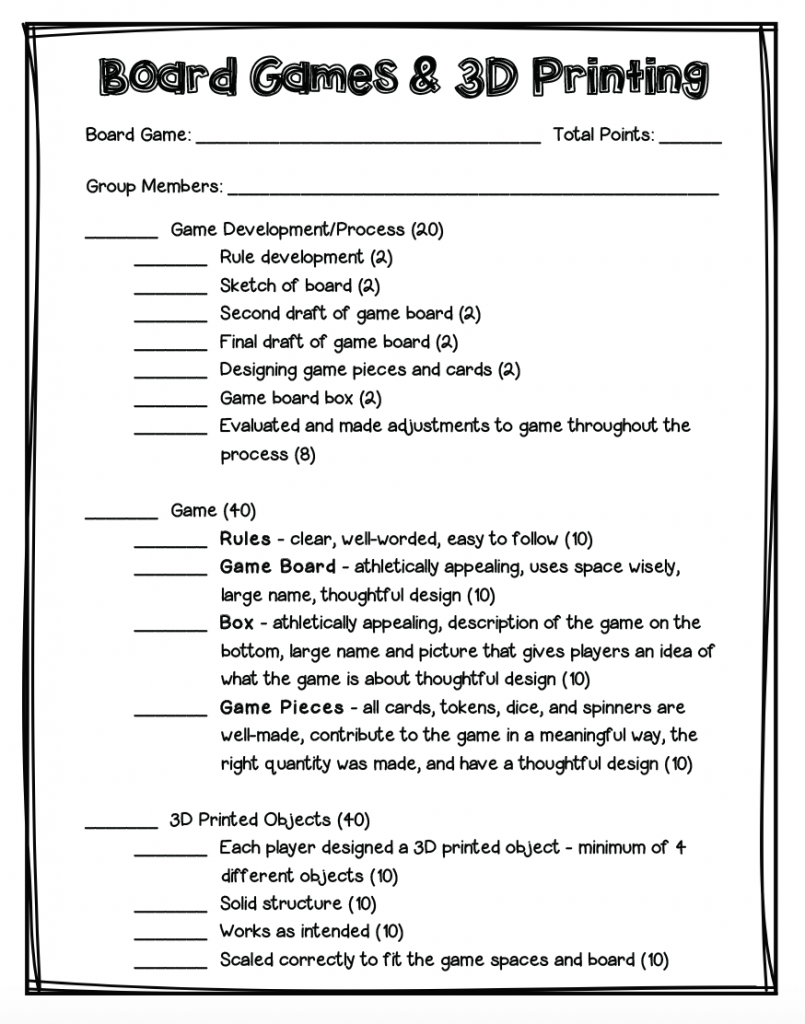
I broke my scoring rubric into three sections. The first assessed the game development and process, while the second section looked at the game as a whole. I included the feedback given by families at the game board night as well as my own thoughts. The final part only evaluated the 3D printed game pieces groups created.
In the end, students walked away from this project with more experience making 3D printed objects, as well as practiced engaging in explanatory writing, working cooperatively, and creating a final published product!
After this unit, my students had all of the skills necessary for our last and final 3D printing unit: PINBALL MACHINES!


