Kids all over the nation went wild for Pokémon Go when it was released. Finding and catching new species of Pokémon was like a thrilling treasure hunt. This was no different than at my school in Las Vegas. I loved that kids who might not otherwise get off their tablets or computers were active and engaging with the world.
This was the perfect opportunity for me to introduce geocaching to my students. Geocaching is a challenging, fun, and engaging activity that millions of people do around the world. Just like Pokémon, it is a treasure hunt but at a higher level because it involves using clues and GPS.
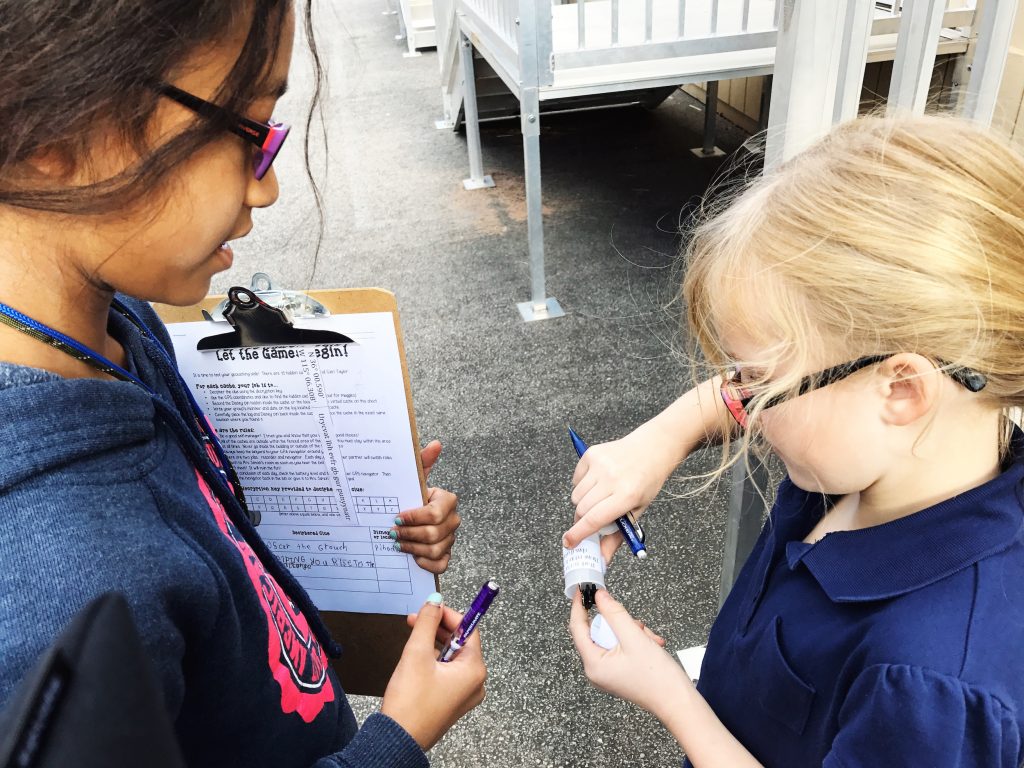
MATERIALS
GPS Navigators – Since most students are not allowed to have cell phones at school, you will need to purchase GPS navigators. Two kiddos per navigator.
Film Canisters – You will want to invest in small film canisters or other small containers that can be used as caches because they are small and easy to hide.
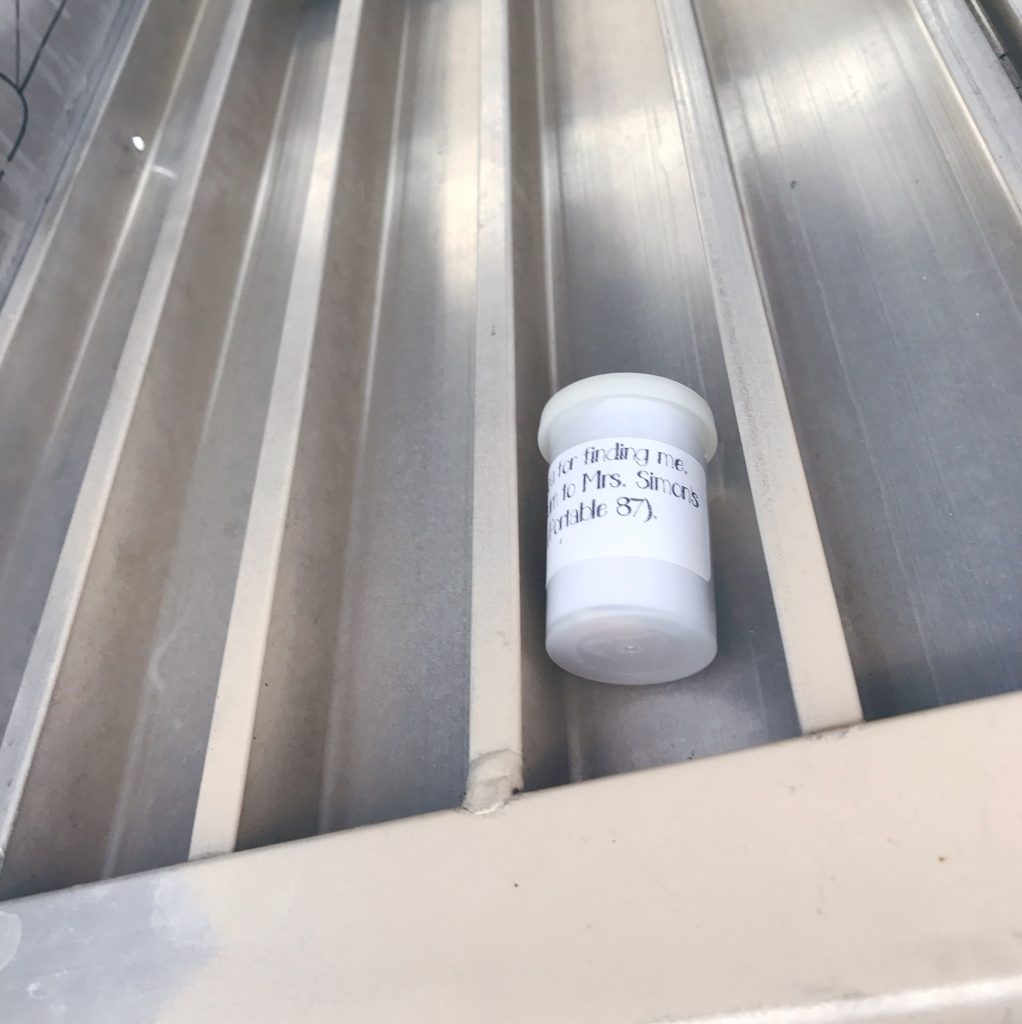
Address Labels – I place on each cache a label that reads “Please return to Mrs. Simon in portable 87. Thank you!” This will greatly increase the odds of your cache being returned if someone in another class discovers its location.
STEP #1 – PREPARATION
Preparing Caches
Prepare your canisters by placing address labels on the outside with information about how to return it if found by a student not in your class. Next, make log sheets that will be placed inside the cache for students to write their monikers proving that they found the cache. You will then assign a number to each cache based on how many caches you are planning on using. Finally, choose and cut out small image that will fit on the bottom of the cache. I use cartoon characters because most kids will know who they are. The pictures are used because kids have to record on their log sheet what character was on the bottom of the cache. This is another way for me to ensure that students stay honest and actually locate the caches on the log.
Hiding Places
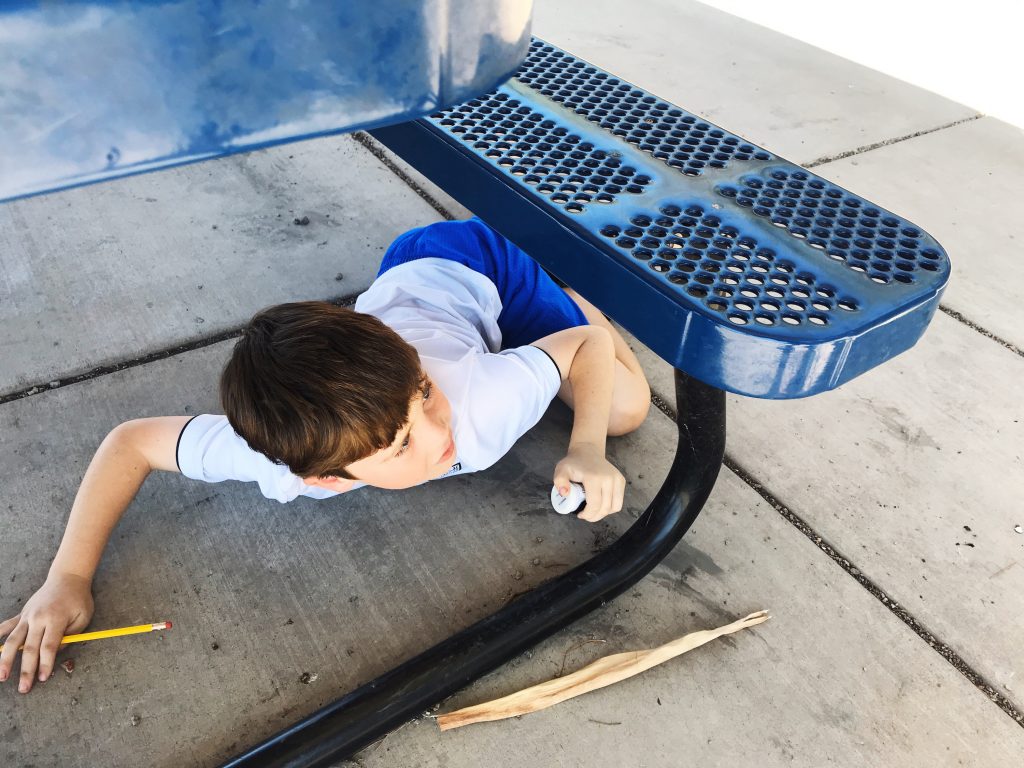
Finding hiding places for your caches where the other 500+ students at your school won’t see them is a challenge. I brought a canister with me as I tested out possible hiding places. For each location I found, I logged its absolute location (latitude and longitude coordinates), placed a piece of Velcro to help keep the cache in place, jotted down a description of its location, and wrote a clever clue to help students find the cache when they got there. I record all of this information in a Cache Location Roster for me to use
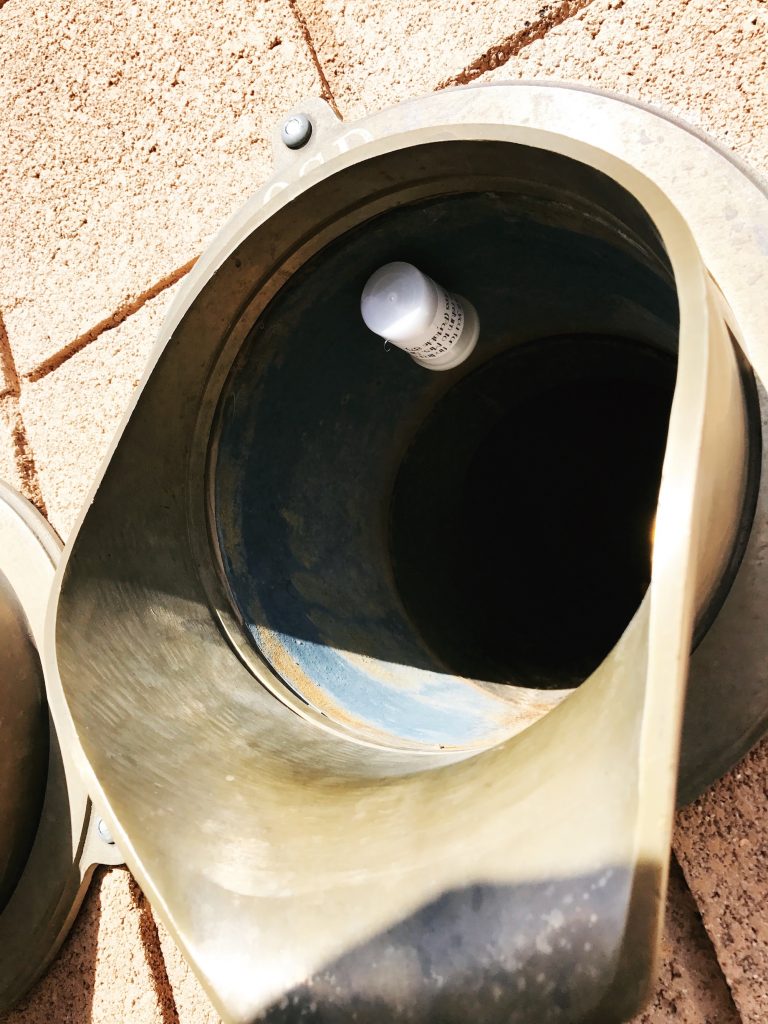
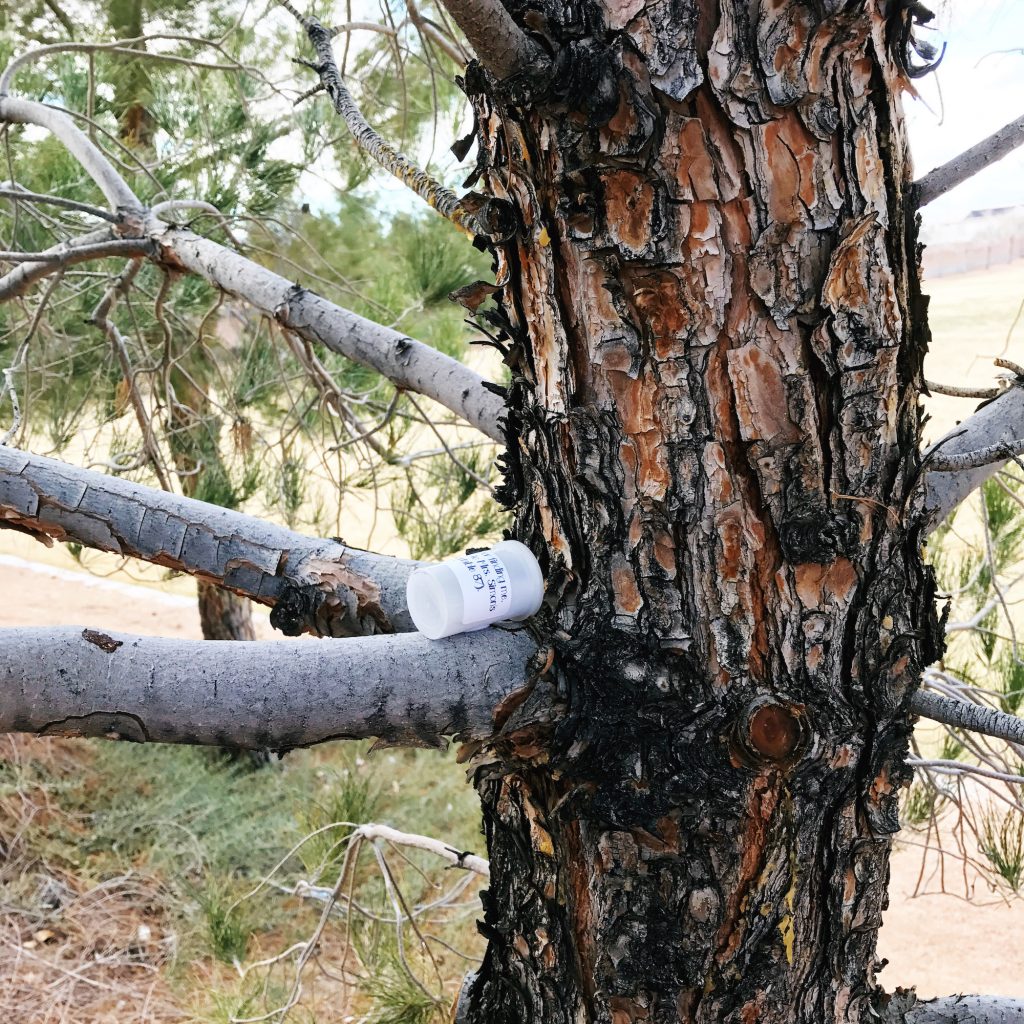
Here is a list of good hiding places that you may find around your school…
- Under a slide
- The bottom of a water fountain
- Under the steps to the playground
- On top of a tree branch that is reachable by students
- Buried in the corner of a flower bed or school garden
- Inside of a waterspout
- Velcro to the bottom of a fire hydrant
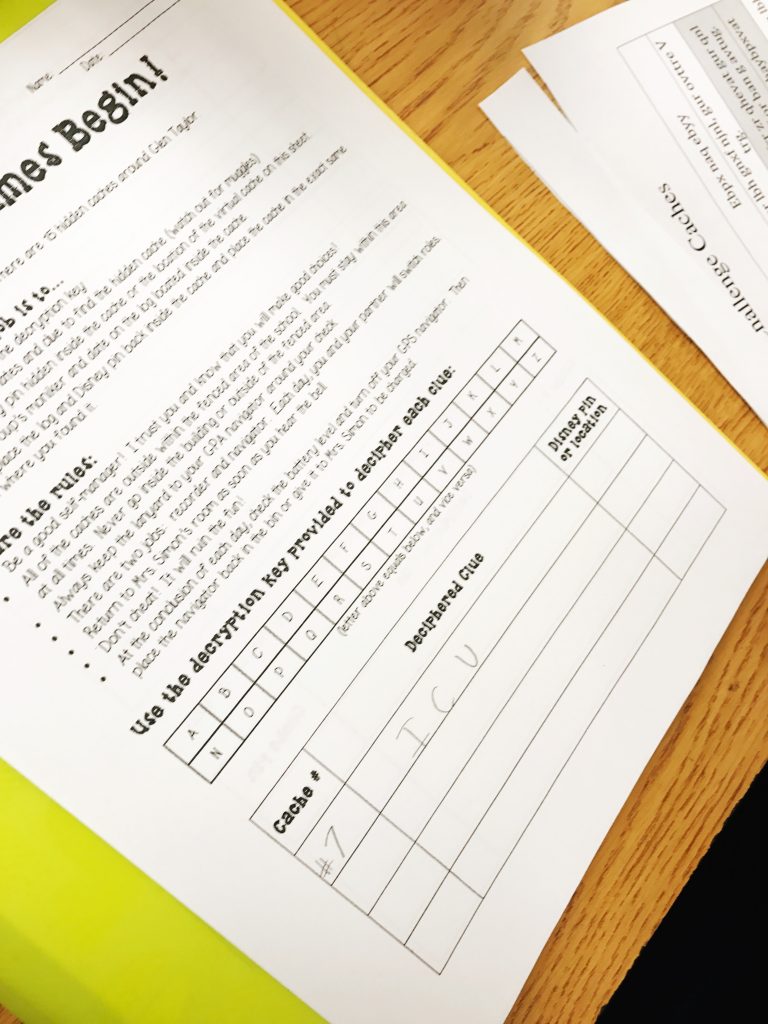
To add an extra challenge, I encrypt the messages and students have to decipher them using an encryption key.
Here is an example….
Visual Caches
Not only do I use physical caches like canisters, I also use visual caches. These are objects around school that students have to identify and where there is no physical canister to discover. For example I always like to use our school’s American flag. The clue that is given is 50 plus 13. This is to represent to 50 stars and 13 stripes.
Here are some other good visual caches…
- Loud speaker
- Lock on a gate
- Video cameras
- Basketball hoop
- Streetlights
- Bike racks
- Center of four square court
- Pitchers mound on baseball field
Cache Cards
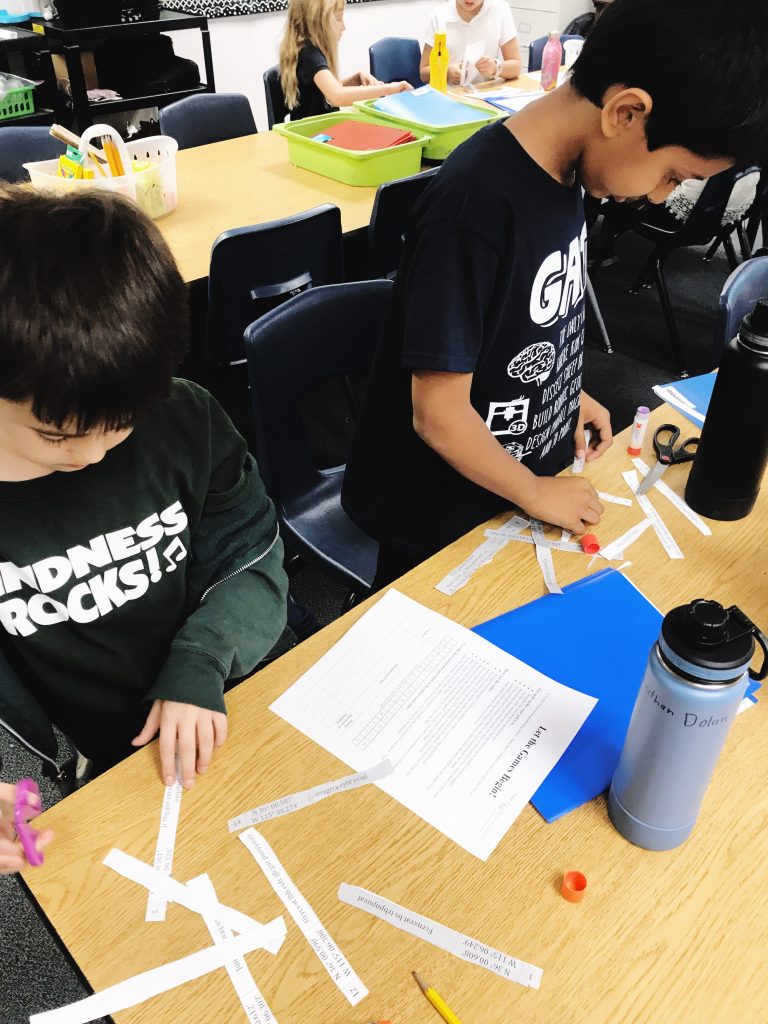
Make cache cards that contain the cache number, clue, and coordinates for students to cut out and place in an envelope. Students will randomly draw cards to discover. This helps prevent everyone in your class from looking for the same cache at the same time.
I let students know which caches are visual caches by highlighting those rows with a different color. This is important so that students aren’t looking for a canister when there isn’t one to find.
Cache Log
You will need to create a log for students to record which caches they found and the image that was inside the cache or location for the visual cache. If you decided to encrypt the clue, then students can also record the deciphered clue here too.
STEP #2 – PREPARING STUDENTS
Geocaching is a great opportunity to teach students about geography. I spend two weeks reviewing mapping skills such as latitude and longitude, parts of a map, and innovations in navigation.
Students also practice using their GPS navigators and finding caches by participating in a teacher-led scavenger hunt. I divide students into their geocaching teams and students take turns being the navigator (kiddo who uses the navigator) and the recorder (the student with the clipboard who records their findings on the log sheet).
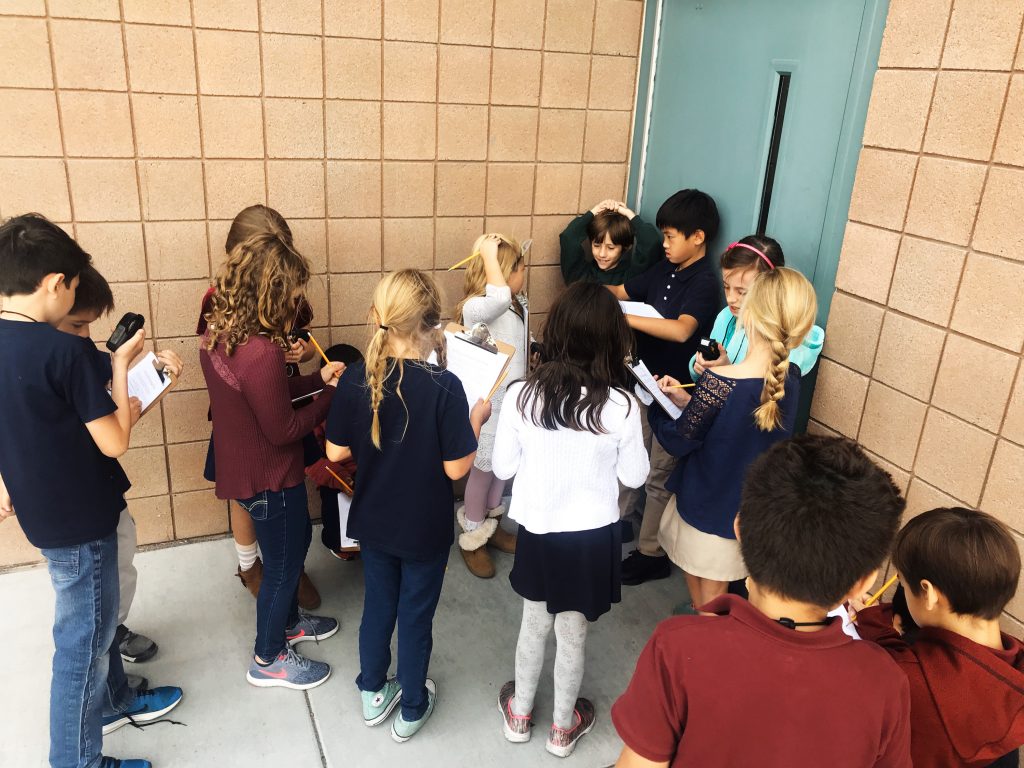
Once it is time for students to begin geocaching, I go over the rules and expectations of geocaching. Kids will be trusted to walk around your school’s campus without you right next to them, so this is an extremely important step. You will of course be outside walking around and monitoring students but there is definitely a certain amount of freedom and trust involved!
Here are the rules I review with students:
- Be a good self-manager! I trust you and know that you will make good choices!
- All of the caches are outside within the fenced area of the school. You must stay within this area at all times. Never go inside the building or outside of the fenced area.
- Always keep the lanyard to your GPA navigator around your check.
- NEVER RUN!
- There are two jobs: recorder and navigator. Each day, you and your partner will switch roles.
- Return to Mrs. Simon’s room as soon as you hear the whistle.
- Don’t cheat! It will ruin the fun!
- Watch out for Muggles (non-geocaching folk). You are not allowed to get a cache while students not in our class are in the area.
- At the conclusion of each day, check the battery level and turn off your GPS navigator. Then place the navigator back in the bin or give it to Mrs. Simon to be charged.
I also carefully review what to do when teams find a cache…
- Decipher the clue using the decryption key
- Use the GPS coordinates and clue to find the hidden cache (watch out for muggles)
- Record the Disney pin hidden inside the cache or the location of the virtual cache on this sheet.
- Write your group’s moniker and date on the log located inside the cache.
- Carefully place the log and cartoon character back inside the cache and place the cache in the exact same location where you found it.
STEP #3: TIME TO GEOCACHE
This is the moment of truth. Each team is given their cache cards, clipboards, envelope, GPS navigator, and cache log. Before students can go outside they must cut out all of their cache cards, put them in the envelopes, and decipher the clue of one of their caches.
Once they do all of that, it is time to go outside. I go outside with a blow horn so that I can call students back when time is up each day. Have students bring their envelopes outside with you so that they can draw new cache cards as needed.
The first day is always the hardest for kids but it does get easier. If a group hasn’t found a cache by the second day, I will walk around with them and offer guidance and help as needed. Once groups find their first cache, they are all set to go and it becomes so much easier.
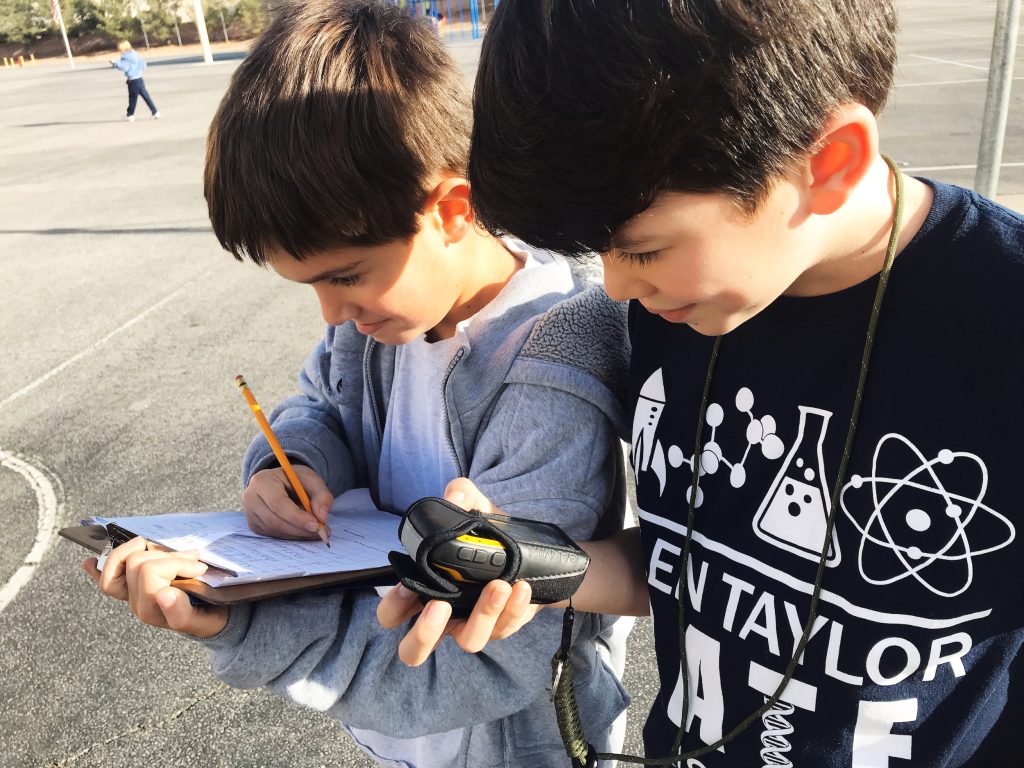
My classes are only 35 minutes so this stage take about two weeks. For students who finish early, I create five challenge caches and don’t hide them until a group is on their last two or three regular caches. If a group finishes all of the challenge caches, I then ask them to help me find new cache and write clever clues to go with them. This is always great because you will find that some cache locations just don’t work. Maybe they get knocked down a lot and go missing, or maybe it is just too challenging or easy. Whatever the reason is, having backup locations is always great!
STEP #4: WRAPPING IT UP
At the end of the unit, I walk around with students outside and we collect all of the caches. Kiddos share the cartoon characters and deciphered clue for each cache and mark whether or not they were correct on their cache logs. This is always so much fun because groups want to see if they were right and which team found the most caches.
Once we are back in class, students reflect on which caches are keepers and which caches should be replaced. I like to have a special treat available for students to celebrate the end of our geocaching adventure.
FINAL THOUGHTS
I am super lucky and get to teach my kiddos for three years, so we get to do a lot of really cool things together. My fifth graders always tell me before going on to middle school that one of their favorite activities in GATE was geocaching. It is such a rewarding and memorable experience that is definitely work all of the effort and time to set it up!

